

APEX, ORDS, and REST Enabled SQL

Search for a command to run...
Jon, Thanks for the in detail information, I have followed all the steps and getting error "The URL of this remote server does not point to an REST Enabled SQL Service. Please check the details of your REST Enabled SQL Service definition." even after doing all the setups. Endpoint URL is working fine in postman but not in APEX rest enabled sql services. Any idea?
Here I am trying to connect remote database from primary database APEX
Just to confirm, you have tested REST Enabled SQL on the target instance from Postman using a REST Enabled SQL URL, e.g. http://example.com/ords/cndemo/_/sql? Assuming this is the case, make sure the Schema you are creating your REST Source in can access the target URL. Do you have an Access Control List (ACL) setup? First try accessing using apex_web_service, as suggested here: https://stackoverflow.com/questions/71315360/why-isnt-my-oracle-rest-enabled-sql-reference-being-recognised
Jon Dixon Thankyou for the quick response. Can you please let me know what would be the username and password in make_rest_request API and Do you have any reference links how to set up PL/SQL Network ACL for the APEX schema user?
Jon, great blog! But I'm not sure this is useful for me to create a REST service to receive as a "callback" the username, the password and other fields at the same time. I need to create a REST Service to receive the status change of an item of another web platform. The endpoint must receive this: { “user”: <user>, “password”: <password>, “idServer”: <idServer>, “idClient”: <idClient>, “idStatusChanged”: <idStatus> } And respond { “notifyResult”: true} or { “notifyResult”: false}
It's possible to use ORDS on this manner?
Thanks a lot!
For sure, you can create an ORDS endpoint that is called by the other platform. The other platform would POST the JSON you describe, perform the appropriate processing, and returns the response you describe. I discuss using ORDS for Webhooks in this post https://blog.cloudnueva.com/webhooks-and-ords
Introduction One of the marquee features of APEX 26.1 is APEX AI Agents. APEX AI Agents allow you to use an LLM and your own PL/SQL and JS tools to perform actions on your data instead of just chattin
Introduction In my previous post, I looked at logging APEX AI Agent requests and responses with Request and Response handlers. Logging is the first step because it shows you what is actually moving th
Introduction Logging is one of the first things you need when building serious AI Agents. Without it, debugging quickly becomes guesswork. You can see the final answer, but not always why the model ch
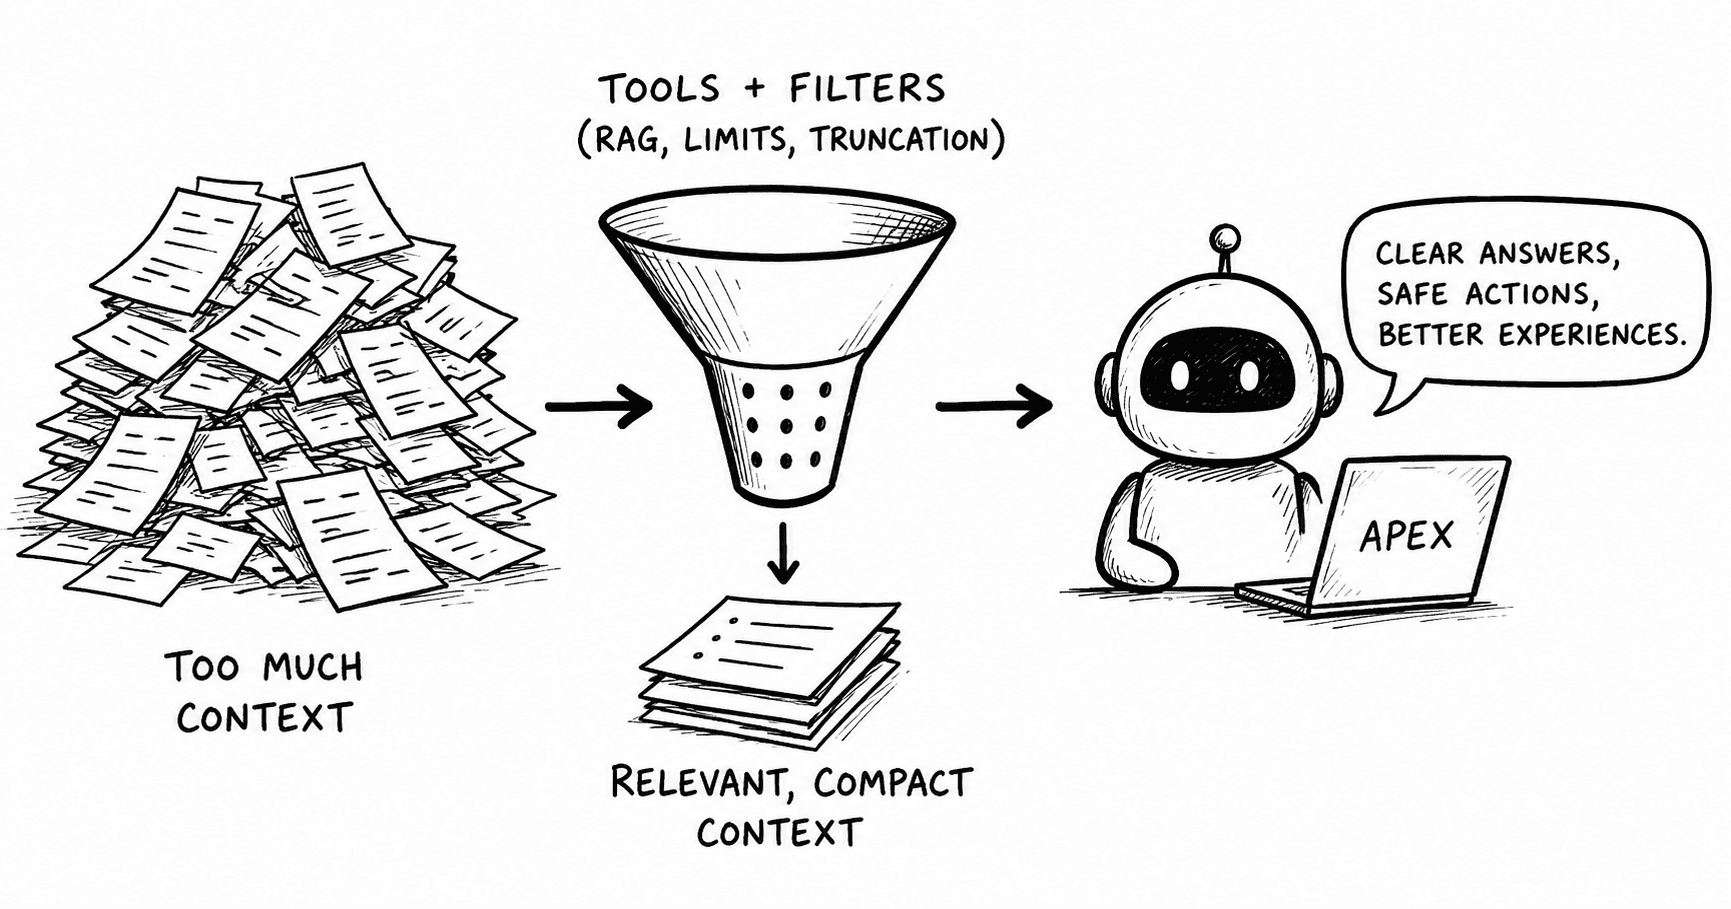
Context management patterns from building agents in Oracle APEX
Introduction If you have spent any time reviewing traditional APEX export SQL, you know the problem. The application is there, but it is buried inside hundreds of calls to internal APIs. You can versi

REST Enabled SQL allows you to run DML and DDL statements (via REST) against a remote Oracle database. REST Enabled SQL is made possible by Oracle REST Data Services (ORDS). APEX allows you to define a REST Enabled SQL Service. A REST Enabled SQL Service allows native APEX Components like Reports, Charts, Maps, etc., to access and update data in a remote database using REST Enabled SQL.
This post will show you how to create a REST Enabled SQL endpoint and secure it with OAuth2 Client Credentials. I will also show you how to create an APEX REST Enabled SQL Service to access this Endpoint from an Interactive Grid in a different database.
The diagram below describes how REST Enabled SQL works.

In this post, we will use the example of an item master table sitting in the Remote Database. The requirement is to create an Interactive Grid in the Local Database, which allows users to maintain items directly in the Remote Database without the need to host the table in the Local Instance. The table in the remote instance is called CNDEMO_ITEMS.
This section describes how to set up an OAuth2 secured REST Enabled SQL Endpoint.
If you maintain your own ORDS Server, you must include the following entry in the settings.xml file. REST Enabled SQL is enabled by default if you use Oracle Cloud Infrastructure (OCI) Autonomous Database or APEX Service.
<entry key="restEnabledSql.active">true</entry>
❗You must be running your ORDS server on HTTPS to use REST Enabled SQL.
Once this is in place, you can access REST Enabled SQL using a special endpoint. The endpoint is the base URL for ORDS concatenated with /_/sql. So, if you access APEX Builder using https://example.com/ords/, then the REST Enabled SQL endpoint would be https://example.com/ords/_/sql.
We need an ORDS OAuth client to secure our REST Enabled SQL Endpoint. Run the following code in the Remote Database schema where your data is located. This will create an OAuth2 Client and assign it to the 'SQL Developer' role. This role allows us to run DDL and DML against the Schema using REST Enabled SQL.
DECLARE
  c_client_name         CONSTANT VARCHAR2(200) := 'REST_ENABLED_SQL_ACCESS';
  c_client_description  CONSTANT VARCHAR2(200) := 'Client for OAuth2 Secured REST Enabled SQL Access';
  c_support_email       CONSTANT VARCHAR2(200) := 'jon@example.com';
BEGIN

  -- REST Enable the Schema.
  ords.enable_schema;

  -- Create OAuth Client to protect the REST Enabled SQL Endpoint. --
  oauth.delete_client(p_name => c_client_name);
  oauth.create_client
   (p_name            => c_client_name,
    p_description     => c_client_description,
    p_grant_type      => 'client_credentials',
    p_support_email   => c_support_email,
    p_privilege_names => NULL);

  -- Grant Client 'SQL Developer' Role, Needed for REST Enabled SQL.
  oauth.grant_client_role(c_client_name, 'SQL Developer');
  commit;
END;
/
Immediately run the following SQL to get the Client ID and Client Secret.
SELECT name
,      client_id
,      client_secret
FROM   user_ords_clients
WHERE  name = 'REST_ENABLED_SQL_ACCESS'
✏️ Take note of the client_id and client_secret
We can now test the REST Enabled SQL endpoint using Postman.
Using the client_id and client_secret from above, we can fetch an OAuth token as follows:


JSON Response:
{"access_token":"vgFUONpz7tC6-bfcF6GoZQ",
 "token_type":"bearer",
 "expires_in":3600}
Using the token from the previous step, we can send the following SQL to the database:


JSON Response:
{
    "env": {
        "defaultTimeZone": "UTC"
    },
    "items": [
        {
            "statementId": 1,
            "statementType": "query",
            "statementPos": {
                "startLine": 1,
                "endLine": 2
            },
            "statementText": "SELECT ITEM_NUMBER, LIST_PRICE FROM CNDEMO_ITEMS",
            "resultSet": {
                "metadata": [
                    {
                        "columnName": "ITEM_NUMBER",
                        "jsonColumnName": "item_number",
                        "columnTypeName": "VARCHAR2",
                        "columnClassName": "java.lang.String",
                        "precision": 50,
                        "scale": 0,
                        "isNullable": 0
                    },
                    {
                        "columnName": "LIST_PRICE",
                        "jsonColumnName": "list_price",
                        "columnTypeName": "NUMBER",
                        "columnClassName": "java.math.BigDecimal",
                        "precision": 0,
                        "scale": -127,
                        "isNullable": 0
                    }
                ],
                "items": [
                    {
                        "item_number": "BILAA8LX08",
                        "list_price": 89.99
                    },
                    {
                        "item_number": "GSQH6YQ1YM",
                        "list_price": 999.99
                    }
                ],
                "hasMore": true,
                "limit": 2,
                "offset": 0,
                "count": 2
            },
            "response": [],
            "result": 0
        }
    ]
}
In the above example, we passed the Header Content-Type:application/json, meaning we need to pass a JSON document with the SQL in the statementText field. JSON allows us to send multiple statements in an array with each statement identified by the statementId field. Importantly, you get an array response back, and you can associate each statementId in the response with the corresponding statementId in the request. There are also fields you can pass to perform pagination etc.
If you change the Header to Content-Type:application/sql, we can send plain SQL statements e.g.

📖 REST Enabled SQL has far too many options to cover in this post, so I encourage you to read through the documentation.
❗At this point, we have not mentioned APEX. REST Enabled SQL (as with regular ORDS REST services) can be used by any client that can consume REST web services.
This section describes the APEX setups that need to be made in the Local Database to link to and use the REST Enabled SQL Endpoint in the Remote Database.
First, we must create Web Credentials for the OAuth2 Client we created in the Remote Instance. These Web Credentials allow APEX to request a token that will enable it to call REST Enabled SQL in the Remote Database. Please read my post for more on Web Credentials.
Log in to APEX Builder in the Local Database
Create Buttonclient_id from aboveclient_secret from aboveCreate button

Next, we must create an APEX REST Enabled SQL Service.
Log in to APEX Builder in the Local Database
Create Buttonhttps://example.com/ords


Create button
It is time to create an APEX page with an Interactive Grid to maintain the items in the Remote Instance.
Interactive GridREST Enabled SQLRemote REST Enabled SQL (created above)Table / ViewParsing Schema


The above example is the simplest possible use case. Instead of selecting a table in the Remote Database, we can enter a SQL statement. The screenshot below shows a Classic Report with a SQL statement that will run against the remote instance.

But don't stop there. You can use REST Enabled SQL Services for Chart Regions, Form Regions, List of Values, Interactive Reports, Cards Region, List View Regions, Map Regions, Calendar Regions, Reflow Report Region, Tree Region, plus some more I have probably missed.
Run the page and verify you can make changes to the data and save. The REST Enabled SQL interactive grid should behave as it would if it were a local table.

If you want to see what APEX is doing behind the scenes, set the APEX Debug Level to LEVEL9 (Trace) and look at the debug. You can do this by enabling debug from the Developer Toolbar. Once debug is set, you should see debug=YES in the Browser URL, e.g. https://www.example.com/ords/r/demo/testapp/testpage?debug=YES&session=12709883743672. If you change debug=YES to debug=LEVEL9, then hit enter, you will enable Trace Level Debugging, e.g. https://www.example.com/ords/r/demo/testapp/testpage?debug=LEVEL9&session=12709883743672
Once Trace Level Debugging is enabled, refresh the page and look at the created debug. You will see all the steps APEX performs to generate a request to send to REST Enabled SQL on the Remote Instance.
 If you take a closer look at the line that starts with
 constructed JSON request in the screenshot above, you can see the APEX first calls alter session set to set the Remote Database NLS environment before running the SQL. APEX also runs dbms_application_info.set_client_info and set_module to identify REST Enabled SQL as the query source (valuable when troubleshooting long-running queries in the Remote Instance).
If you change a field in the Interactive Grid and Save it, the debug will show the updated statement sent to the Remote Database.
ORDS REST Enabled SQL provides excellent flexibility for consuming applications and does not require the development of formal REST services. If a consuming application needs to select an additional column from a table, it can do so without having to deploy any code to the remote database. Consuming applications have free rein to run any code SQL or PL/SQL in the Schema associated with a REST Enabled SQL Endpoint. This access is not necessarily good; you need to trust the consumer!
APEX REST Enabled SQL Services take this flexibility and make it available to native APEX components.
REST Enabled SQL allows you to run any DDL or DML statement against the Schema in the Remote Database. You should follow the principle of least privilege for the Schema in the Remote Database. I recommend creating a dedicated schema for REST Enabled SQL that starts without access to any database objects. Then add grants and synonyms to allow the Schema to access just the objects it needs.
You can also use Basic Auth to access REST Enabled SQL (i.e., the user name and password of the remote database schema). I recommend you make the password for the Schema extremely complex and never provide it to consumers of the REST Enabled SQL Endpoint. OAuth2 is much more secure.
Unlike regular ORDS REST services, REST Enabled SQL allows consumers to run any SQL on the remote database. This opens the remote database up to poorly performing SQL. Be aware of this and maybe use Resource Manager to limit any potential issues in this respect.
We set up REST Enabled SQL in the Remote Database in this post. We then created a an APEX REST Enabled SQL Service in the Local Instance, allowing APEX to access Remote Instance data using REST Enabled SQL.
This post is only the beginning regarding what you can do with REST Enabled SQL. In the future, I hope to show you how you can do the following with REST Enabled SQL: