

APEX + OCI Email Logs: Track Bounces, Complaints, Suppression
Search for a command to run...
No comments yet. Be the first to comment.
Introduction One of the marquee features of APEX 26.1 is APEX AI Agents. APEX AI Agents allow you to use an LLM and your own PL/SQL and JS tools to perform actions on your data instead of just chattin
Introduction In my previous post, I looked at logging APEX AI Agent requests and responses with Request and Response handlers. Logging is the first step because it shows you what is actually moving th
Introduction Logging is one of the first things you need when building serious AI Agents. Without it, debugging quickly becomes guesswork. You can see the final answer, but not always why the model ch
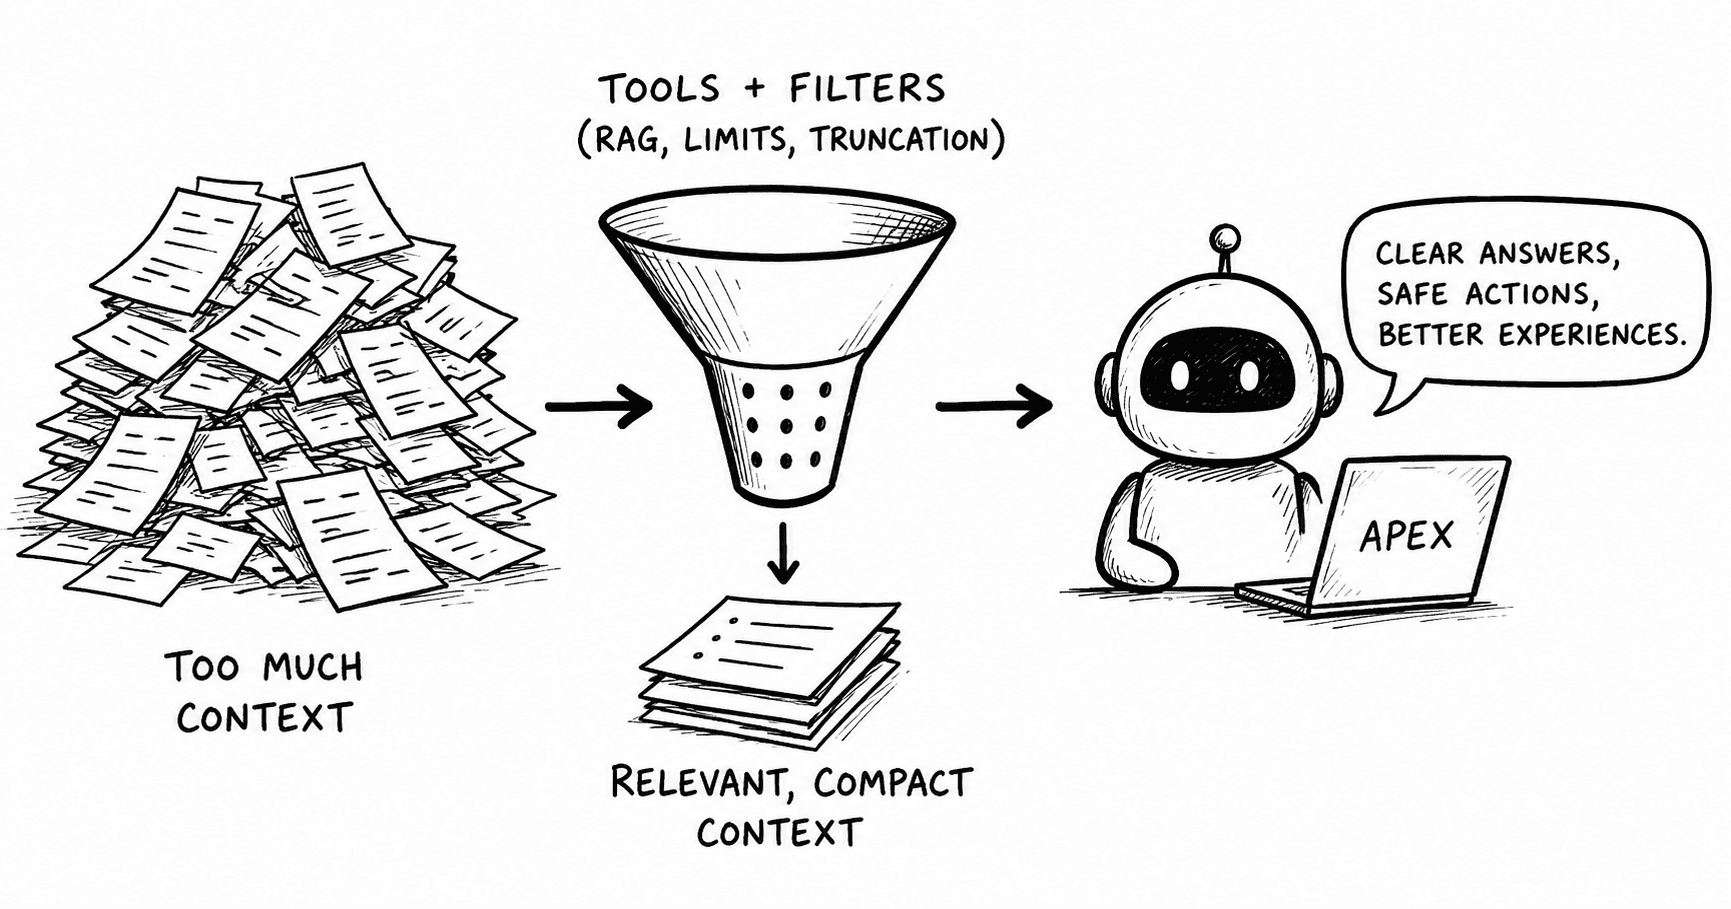
Context management patterns from building agents in Oracle APEX
Introduction If you have spent any time reviewing traditional APEX export SQL, you know the problem. The application is there, but it is buried inside hundreds of calls to internal APIs. You can versi

I am sure many of you are already using the OCI Email Delivery Service to send emails from your APEX Applications. It offers a convenient and inexpensive way to handle emails that integrates easily with APEX. Matt Mulvaney wrote a step-by-step guide to setting it up here.
If you are using this service and have asked yourself these questions, then this post is for you:
How do I know if my email was bounced?
How do I know if my emails are getting marked as spam?
Basically, did the recipient receive the email?
To answer these questions, you must enable logging for your OCI Email Service. In this post, we will:
Enable Email Delivery logs (OutboundAccepted/OutboundRelayed)
Query logs via Logging Search API
Surface results in APEX (Interactive Report) and/or sync to a table for history
Before we start, it is important to understand what the two types of email delivery logs reveal.
A bounce is a downstream delivery failure reported by the recipient’s mail system after an attempt is made (typically seen in the OutboundRelayed log) and usually points to issues such as an invalid mailbox, a missing domain, or temporary recipient-side problems.
Suppression often happens before any delivery attempt; your send can look “fine” from APEX’s perspective, but Email Delivery may block or drop the message due to policy, reputation, or suppression-list conditions (often visible in OutboundAccepted and sometimes reflected in log messages indicating a suppressed recipient). Practically, this is the difference between “the destination rejected it” and “we never really tried,” and it changes your remediation: bounces drive address hygiene and retry rules, while suppression drives sender/domain configuration and suppression-list/deliverability review.
I use these logs for APEX Developer Blogs, which has over 300 subscribers. Here are some examples of errors from these logs:

Let's start by setting up logging from the OCI Console.
Navigation: Developer Services > Email Delivery > Click on Your Domain
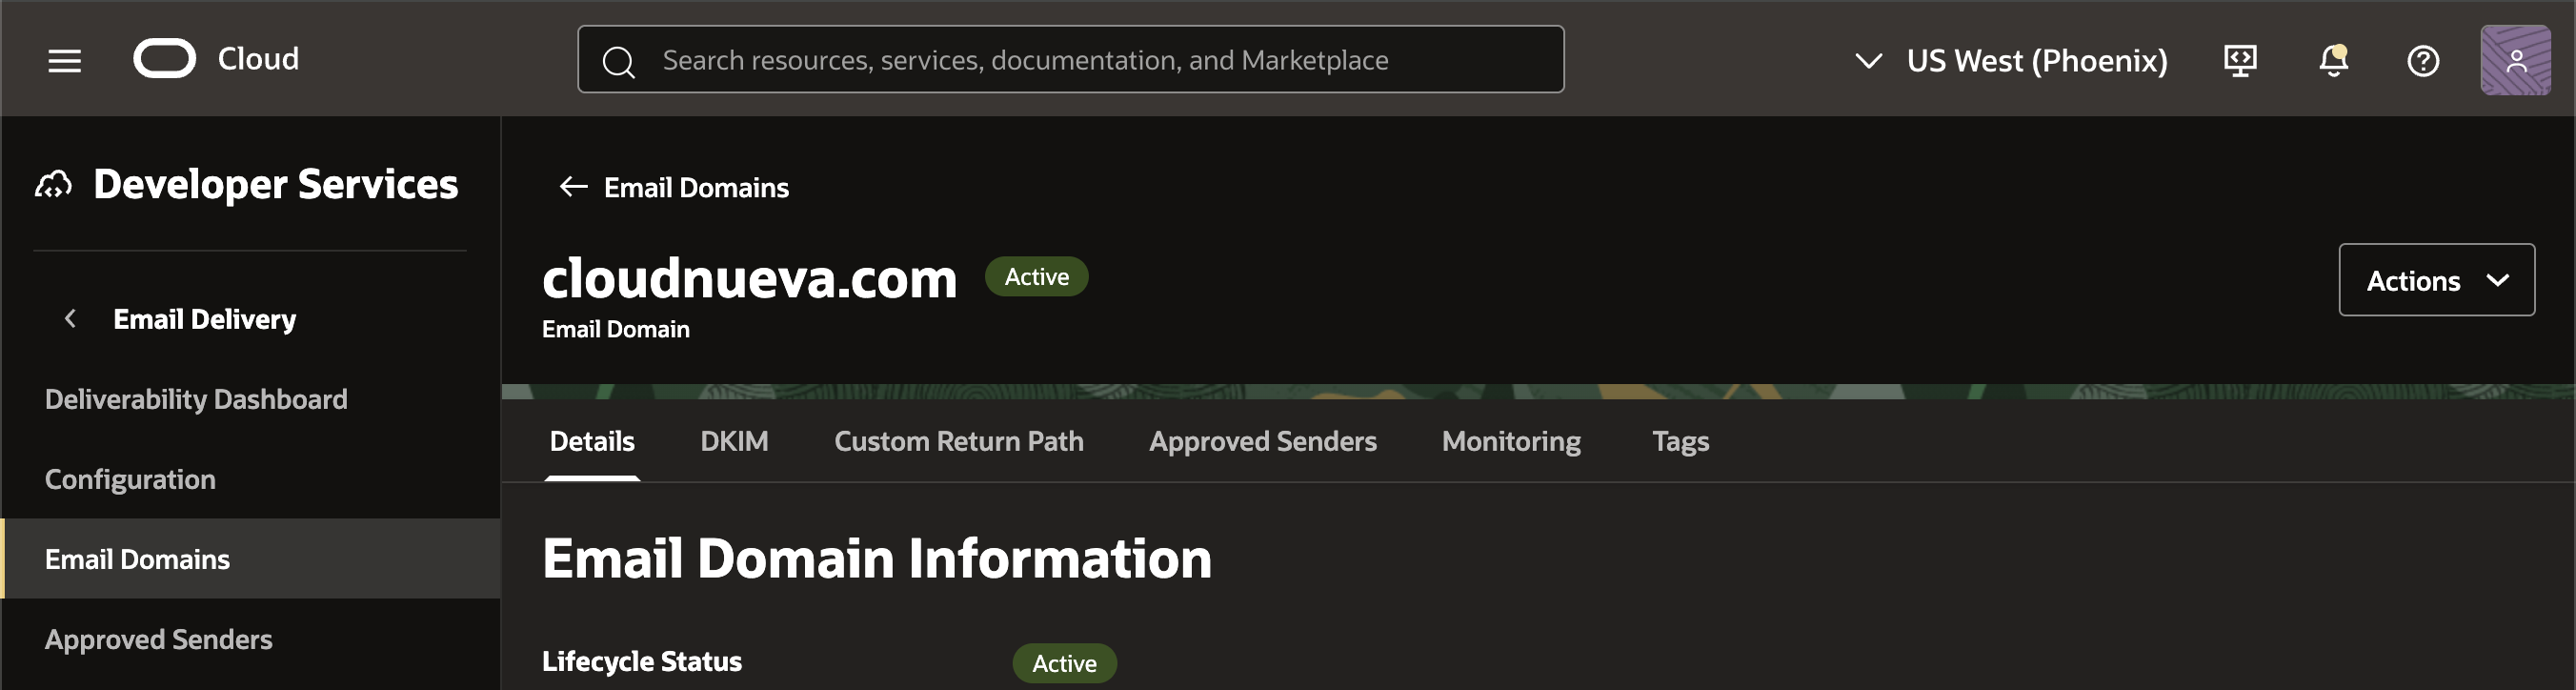
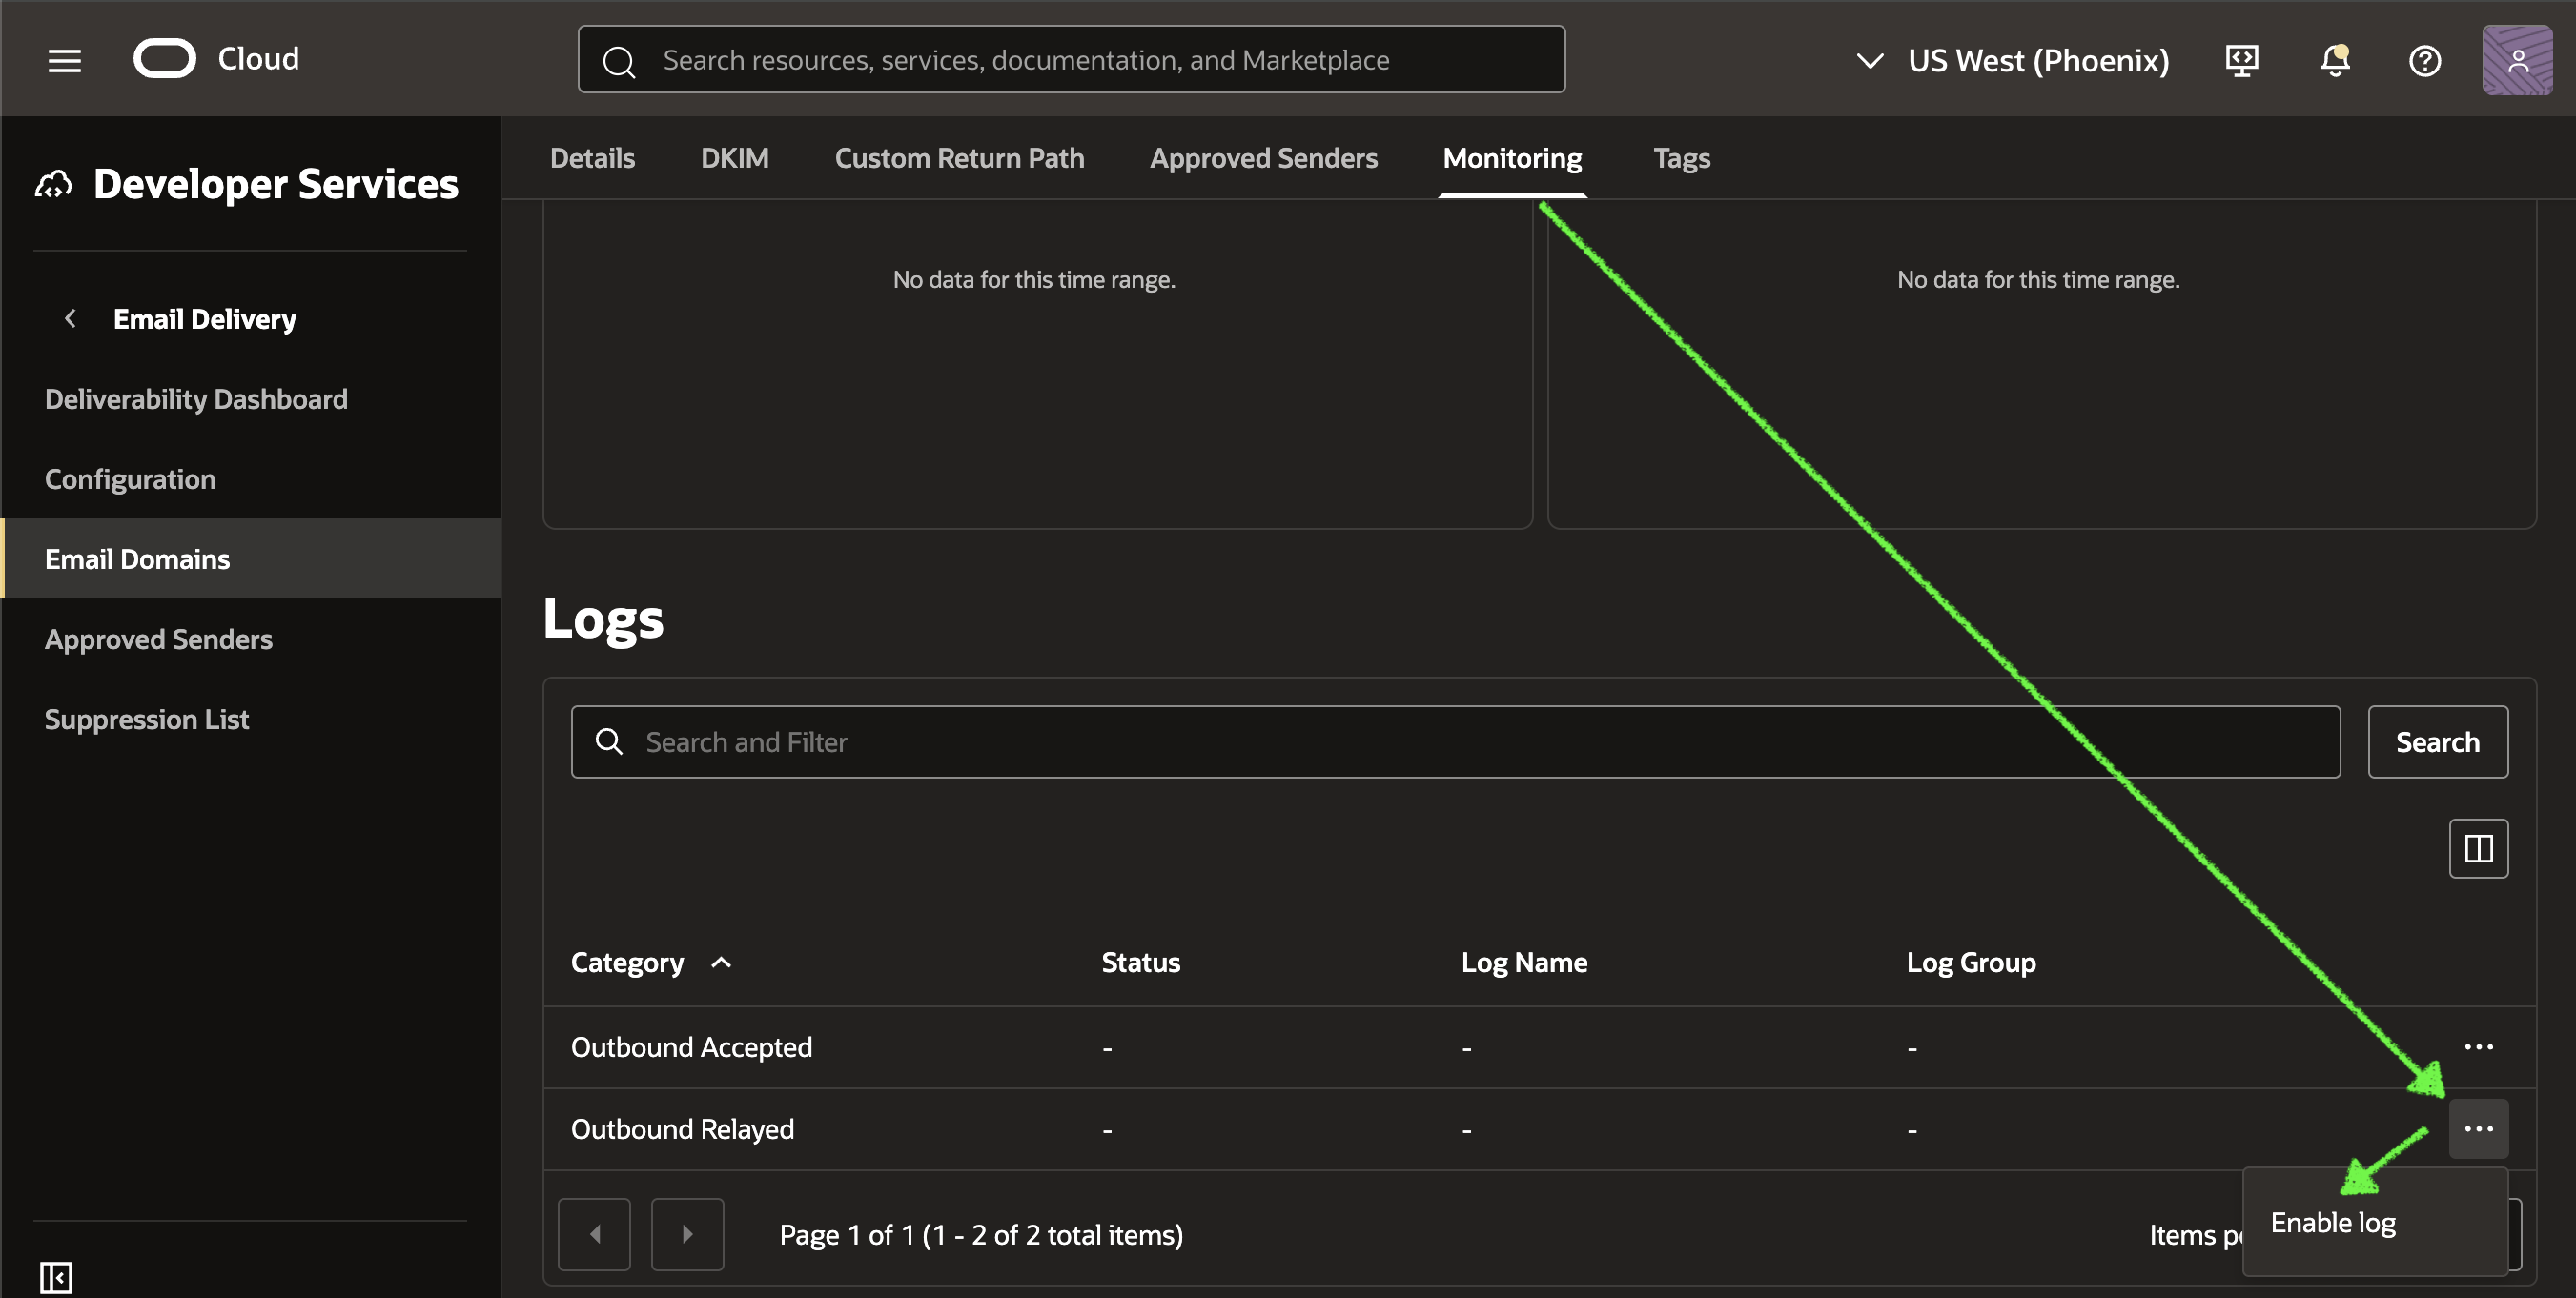
Then click on the 'Monitoring' tab and scroll down to the 'Logs' section, click the ellipses for the 'Outbound Relayed' log, and click 'Enable Log'.
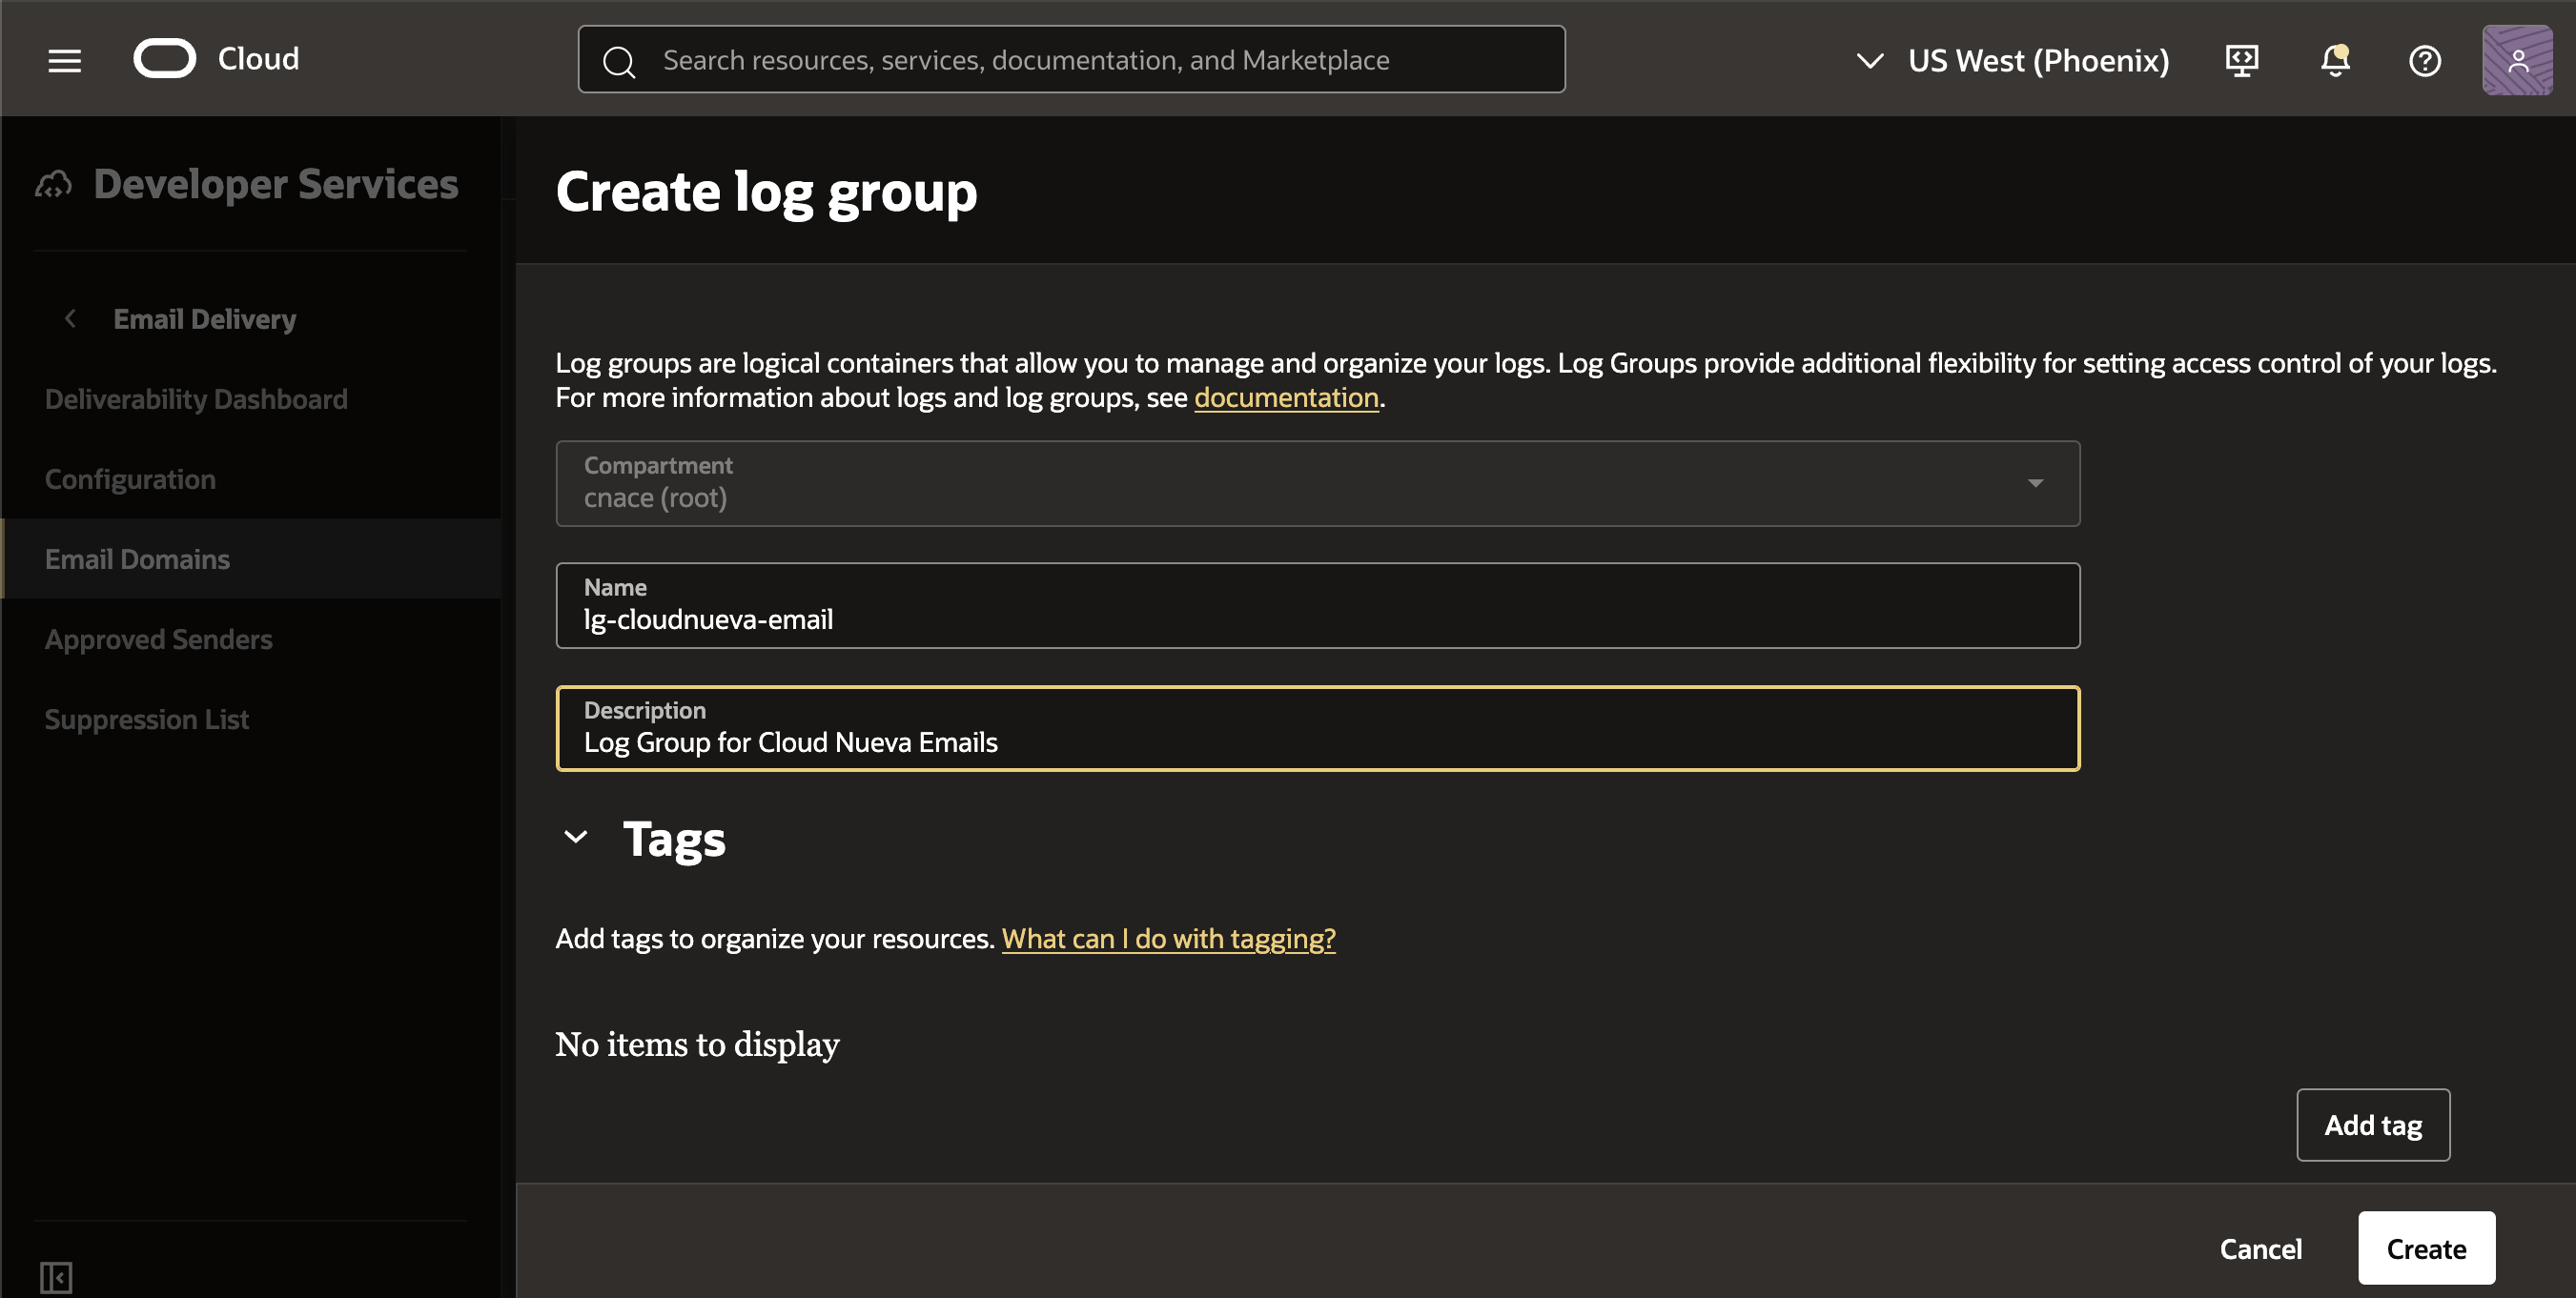
If you don’t already have a log group set up, click 'Create new group':
Enter a log group name and description, and click 'Create':
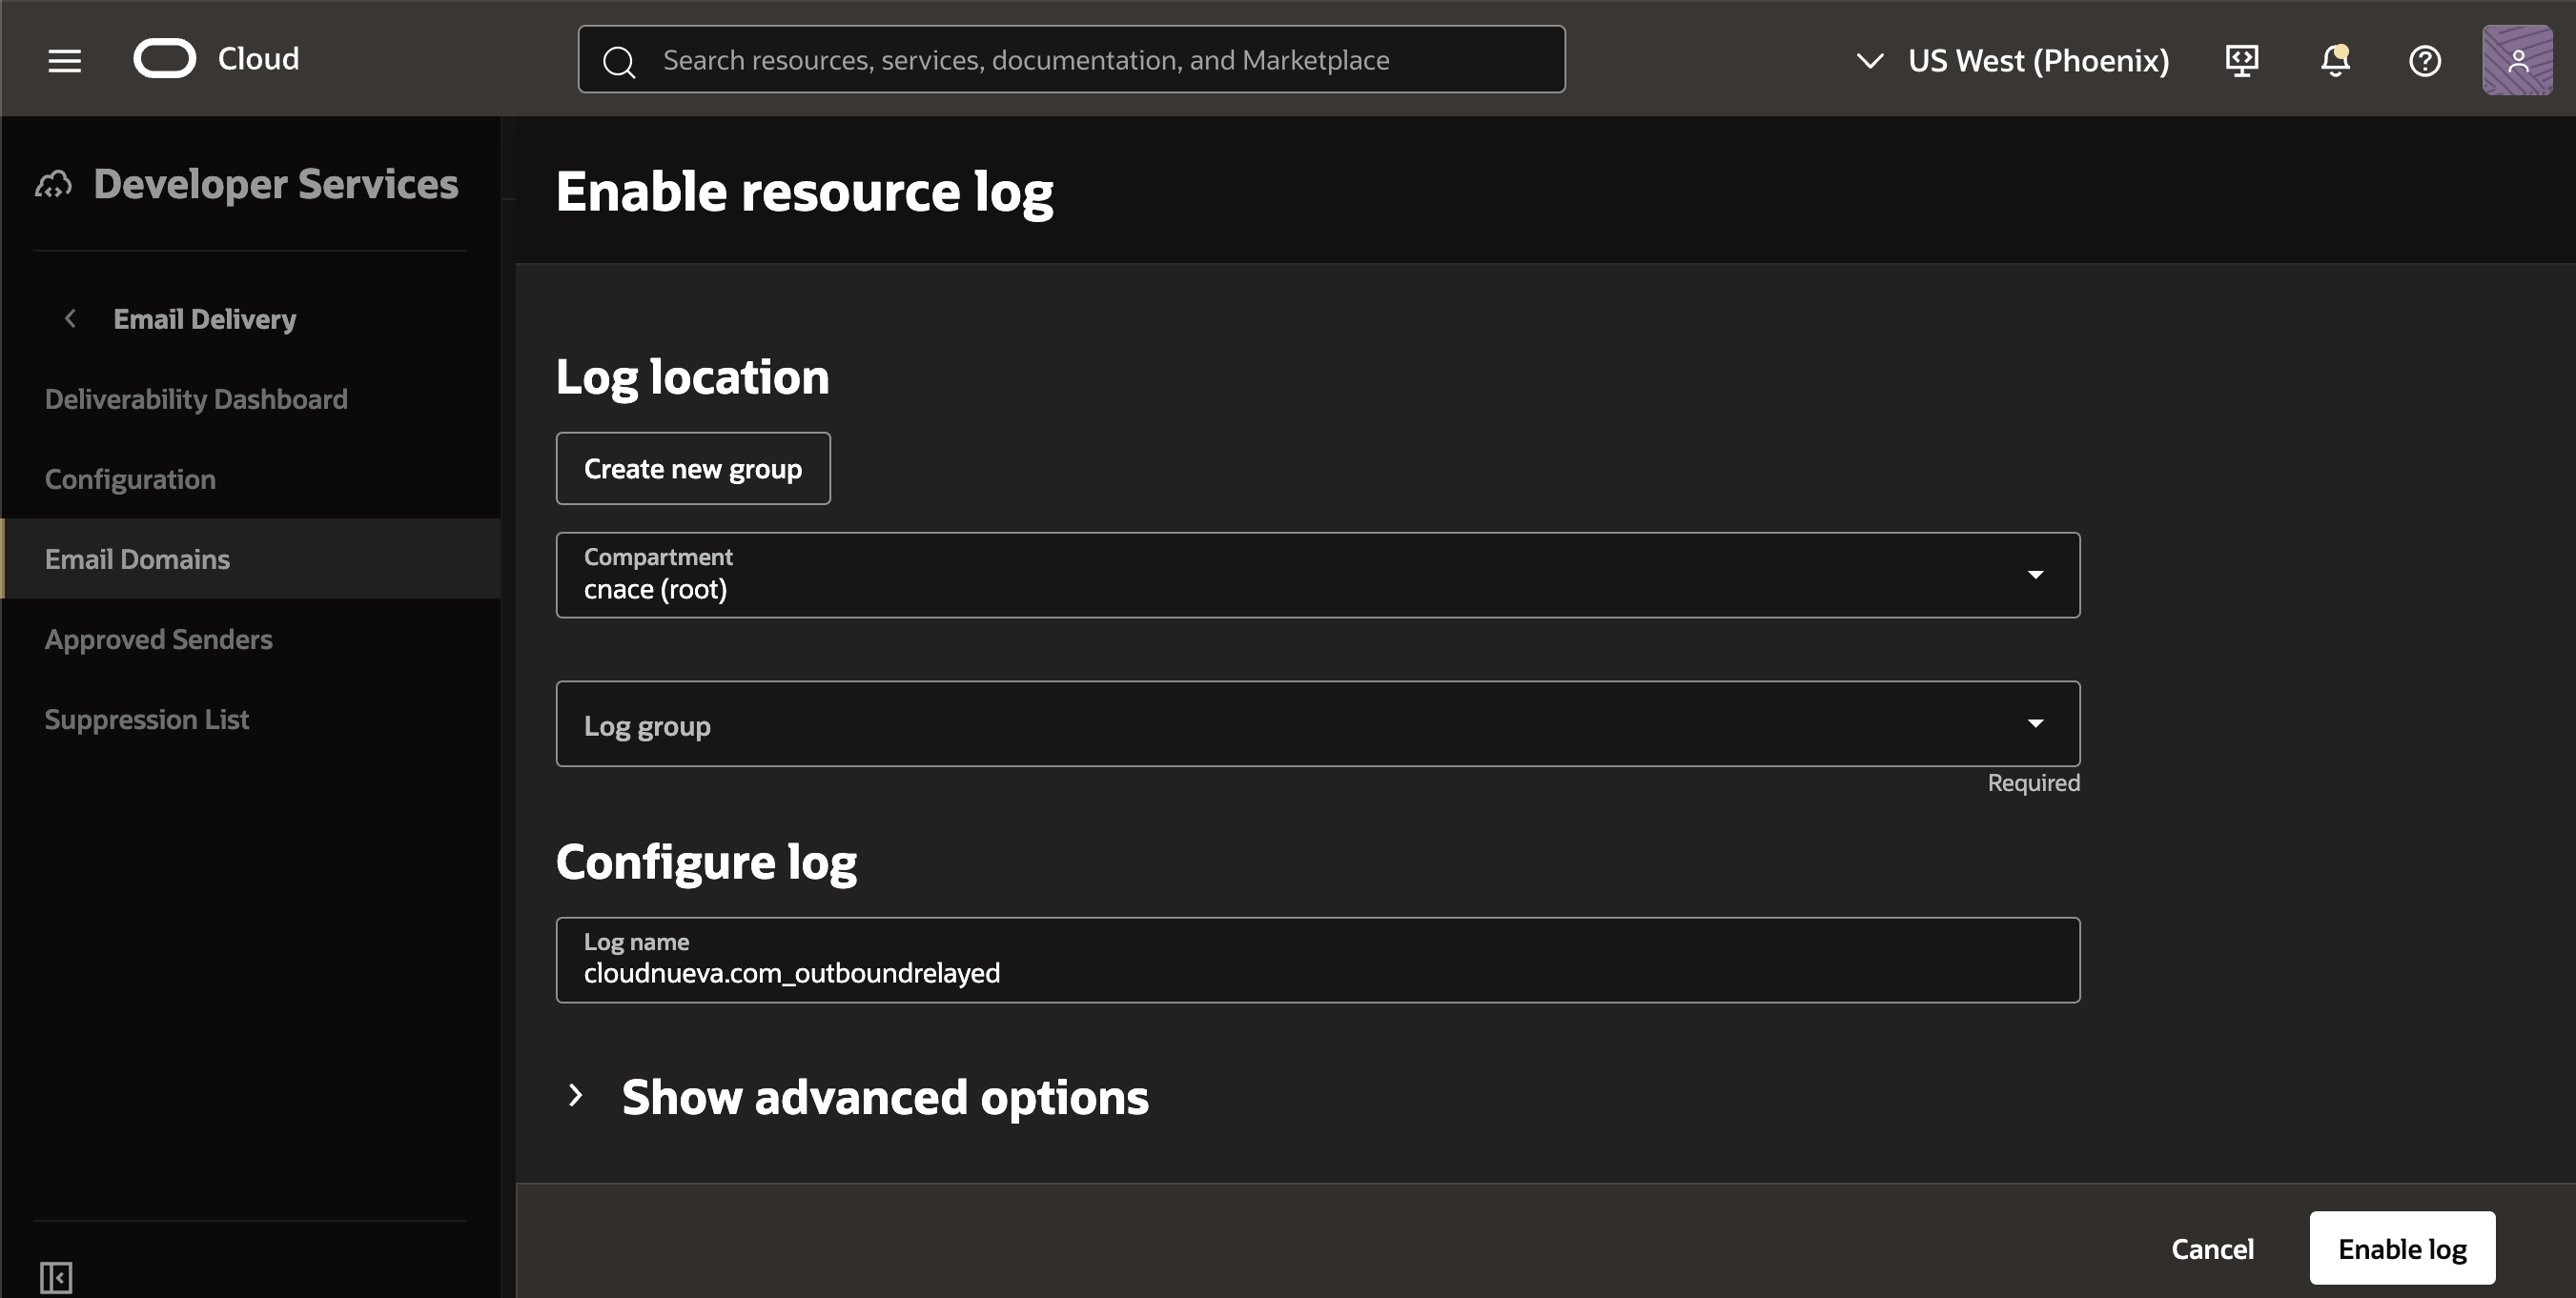
Once back on the Enable resource log page, click 'Enable log':

After a few seconds, your log should be active:
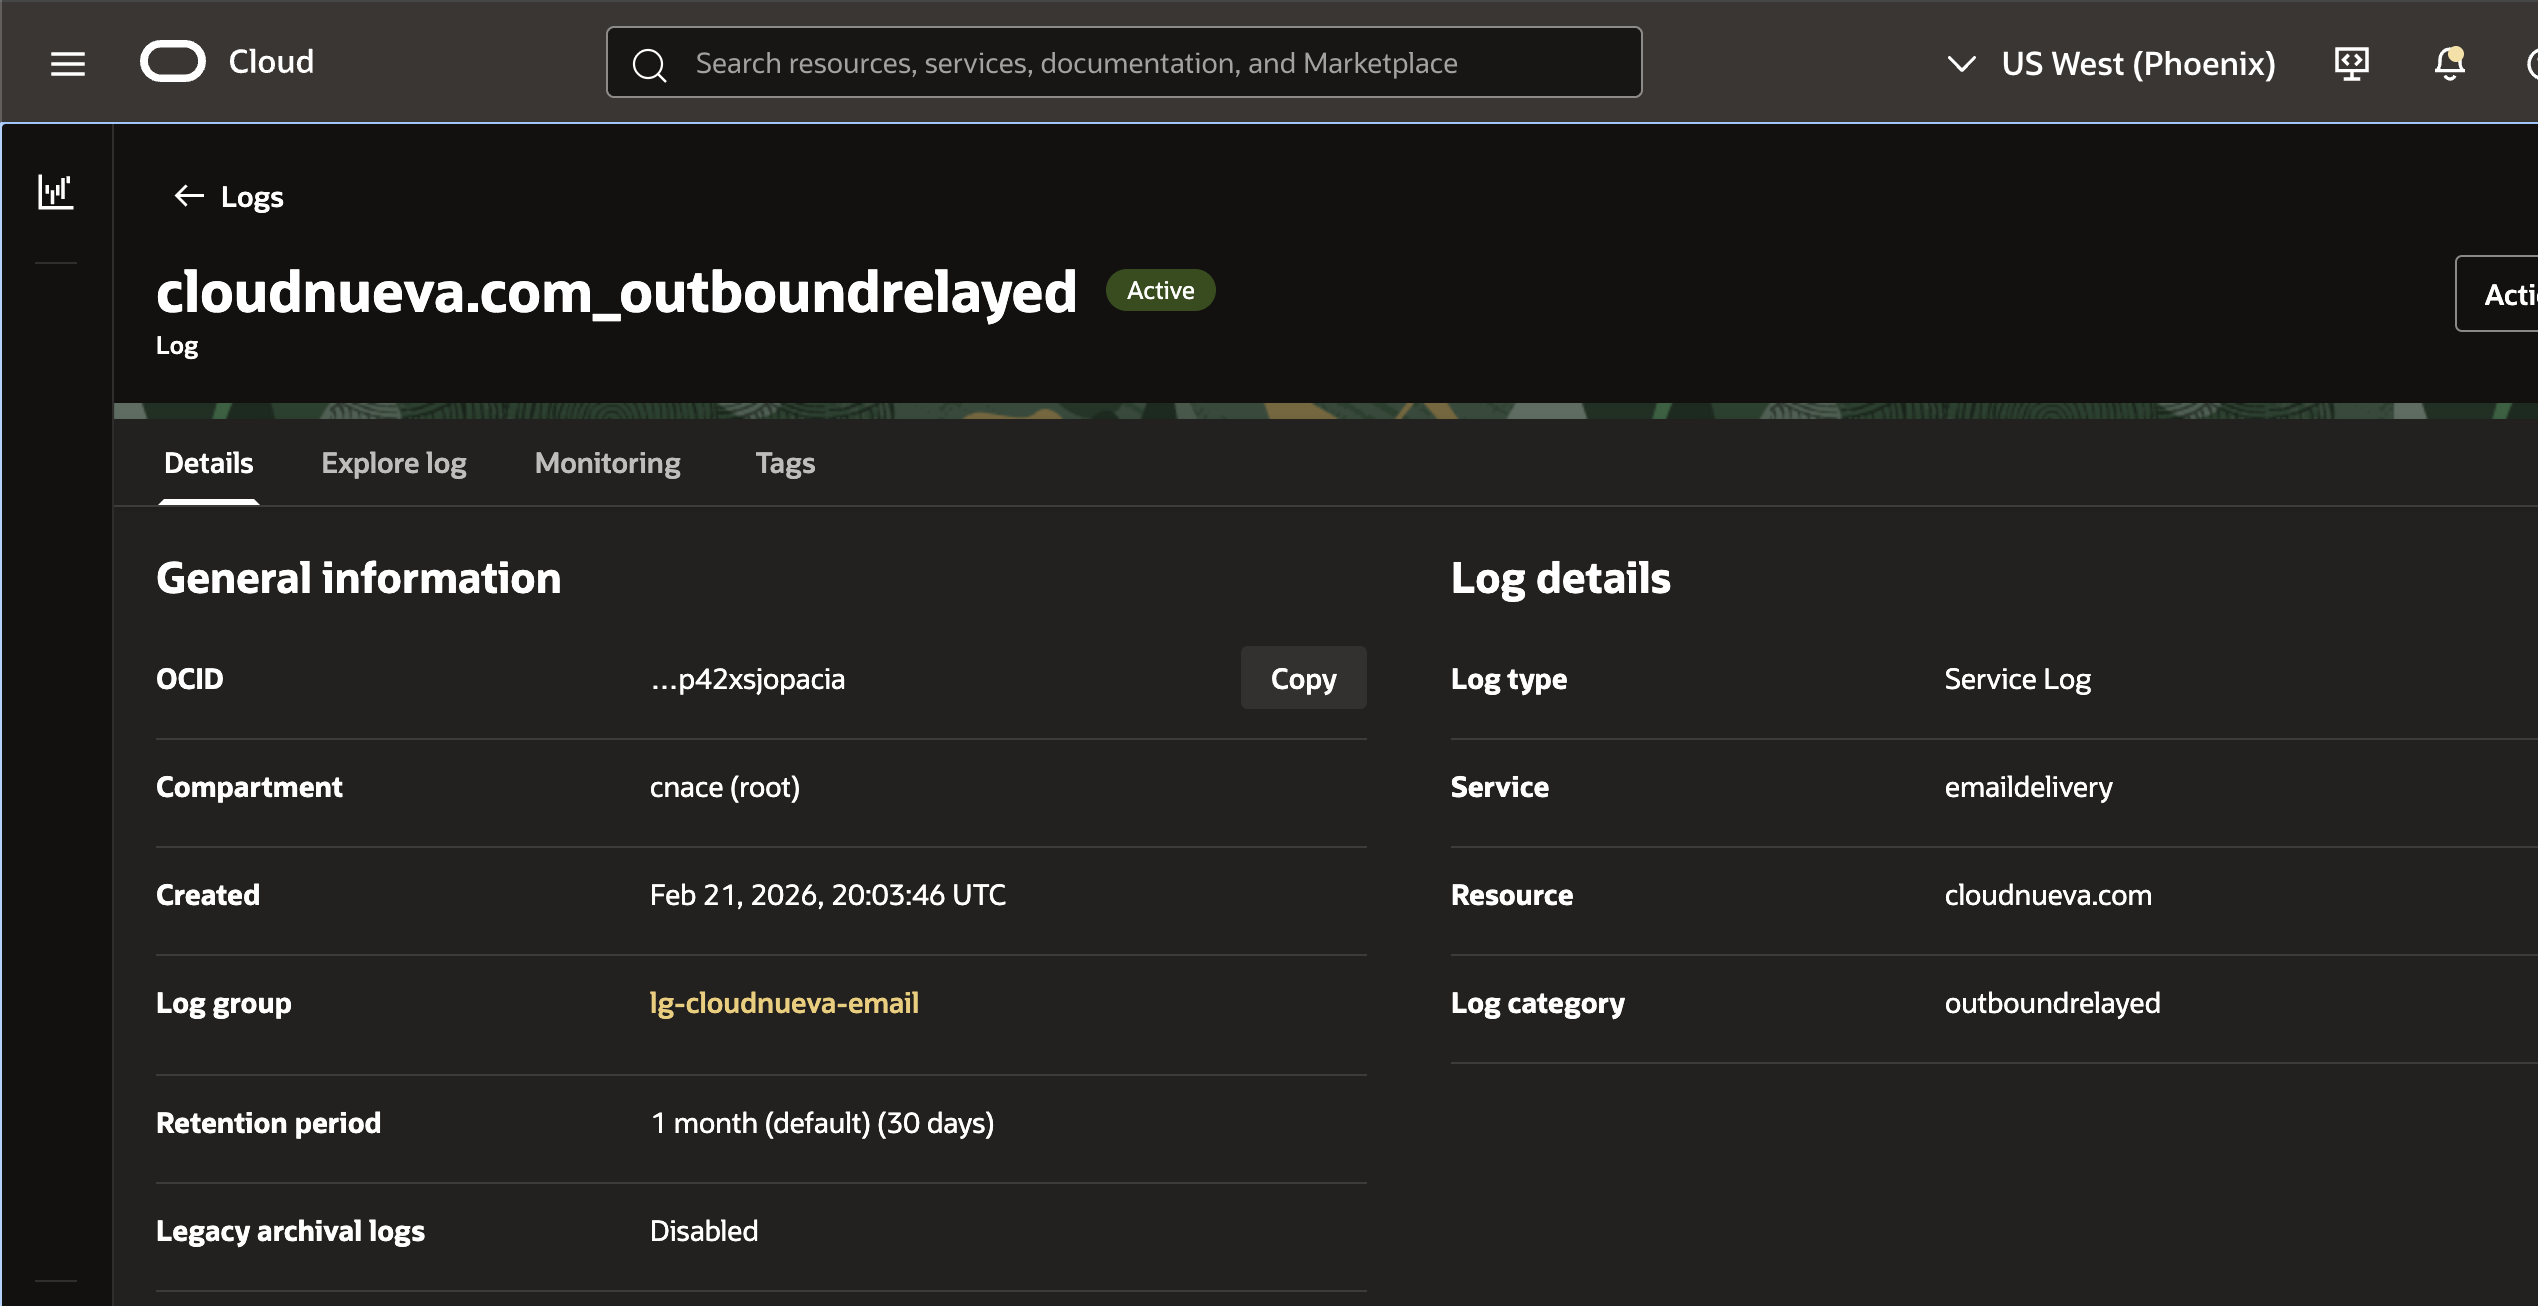
Adjust the retention period to match your audit needs/cost constraints.
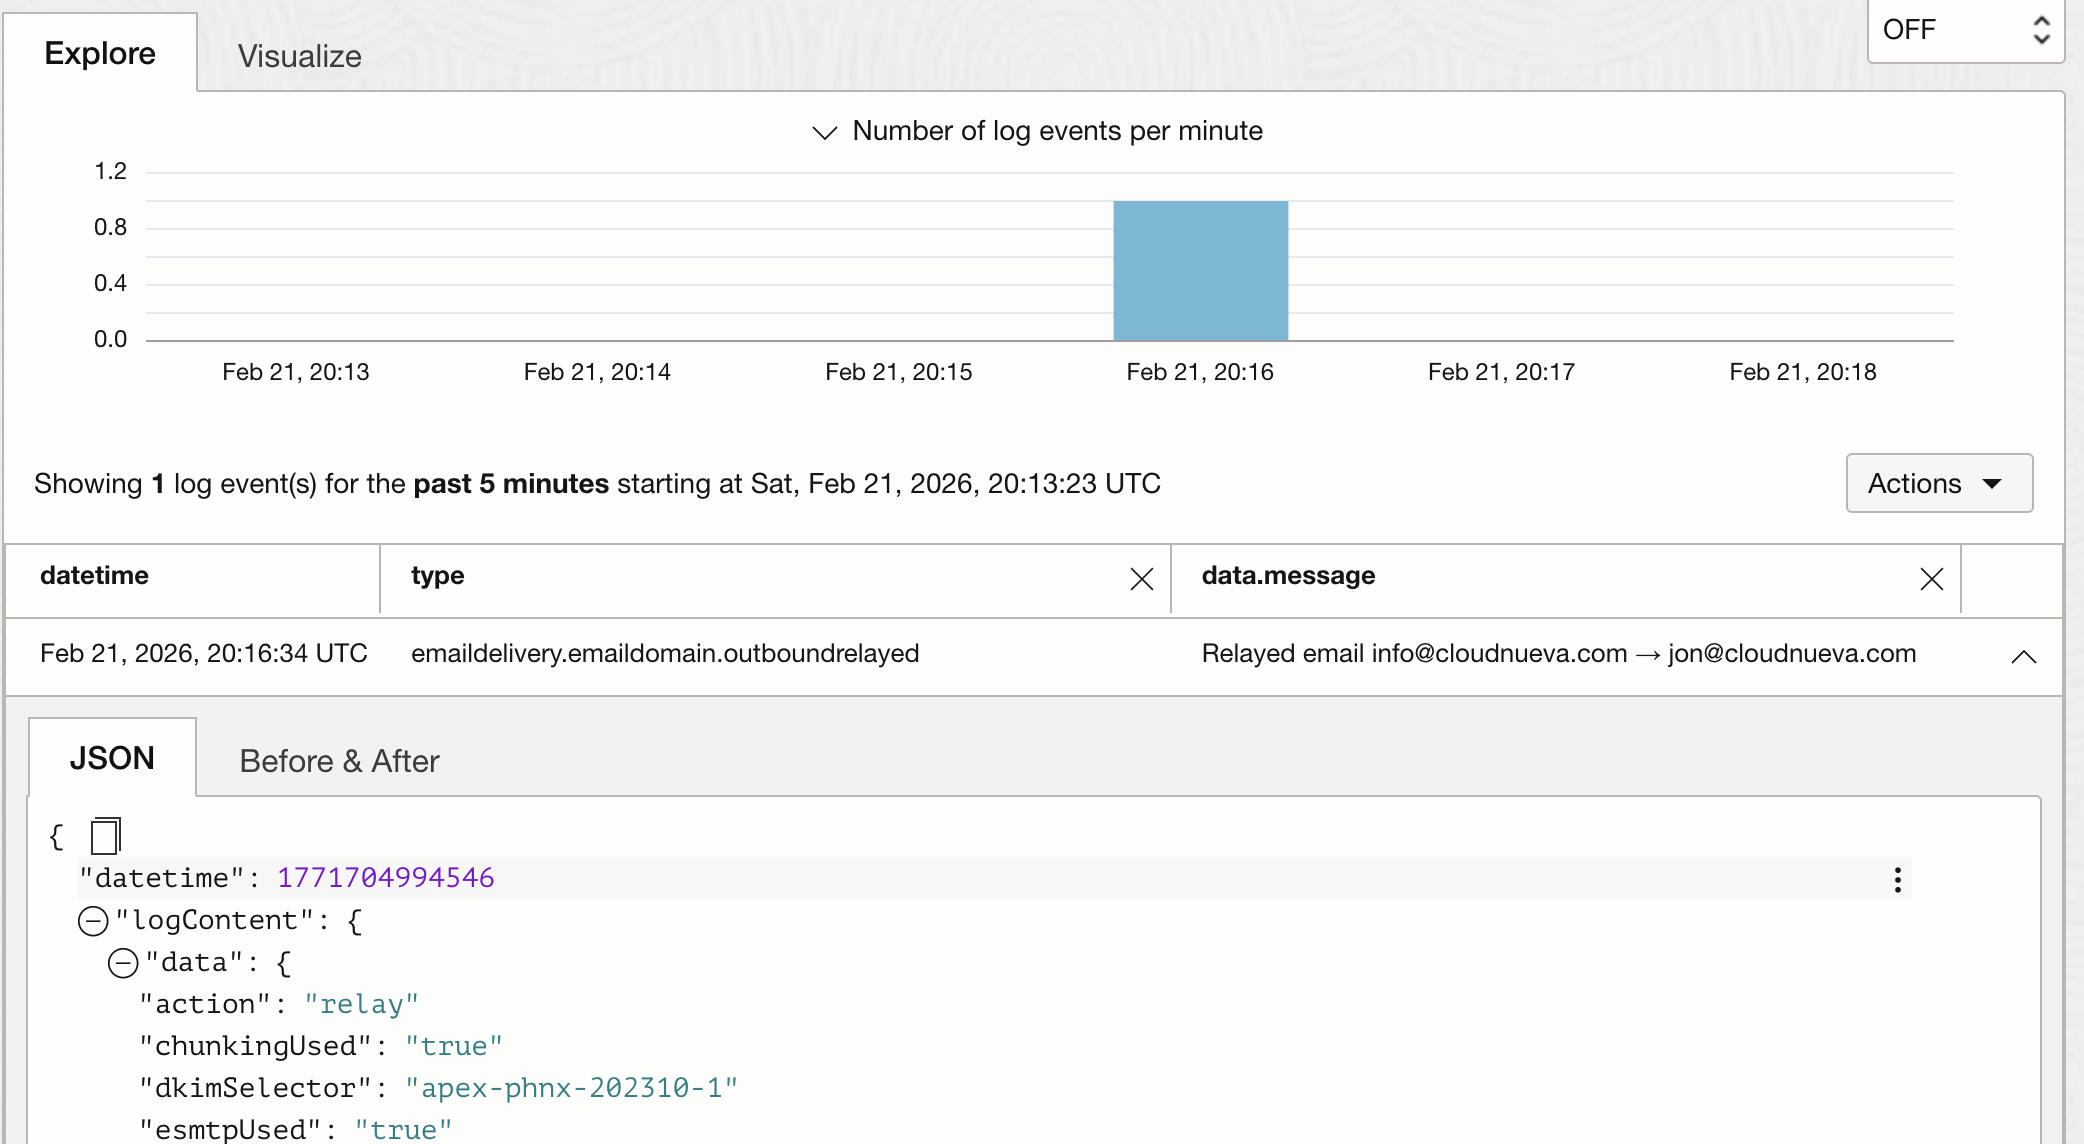
Send a test email from your instance to make sure it shows up in the logs:
DECLARE
  l_body  CLOB;
BEGIN
  l_body := '<h1>Testing APEX Mail</h1>';
  apex_mail.send
   (p_to        => 'test@example.com',
    p_from      => 'info@example.com',
    p_body      => l_body,
    p_body_html => l_body,
    p_subj      => 'Testing APEX Mail');
  apex_mail.push_queue;
END;
p_from to an email address that is on your OCI Email Delivery Approved Sender List.After a few seconds, you should see the message in the logs:
If we send an email to an invalid email address, we can see the bounce from the destination email server. Note: I have changed the OCIDs in the sample JSON below to 'AAA' and the domains to example.com.
{
  "datetime": 1771705254189,
  "logContent": {
    "data": {
      "action": "bounce",
      "bounceCategory": "bad-mailbox",
      "bounceCode": "5.1.10",
      "errorType": "hard",
      "message": "Suppressed recipient sam@example.com for email from info@example.com: bad-mailbox hard bounce",
      "messageId": "4B5C41B678F782A0E063E815000AC99A@apps.example.com",
      "originalMessageAcceptedTime": "2026-02-21T20:20:39.614Z",
      "receivingDomain": "example.com",
      "recipient": "sam@example.com",
      "reportGeneratedTime": "2026-02-21T20:20:41Z",
      "sender": "info@example.com",
      "senderCompartmentId": "AAA",
      "senderId": "AAA",
      "smtpStatus": "550 5.1.10 RESOLVER.ADR.RecipientNotFound; Recipient sam@example.com not found by SMTP address lookup"
    },
    "id": "4e81ce60-b8c7-40be-8a19-79448a3f4f2d",
    "oracle": {
      "compartmentid": "AAA",
      "ingestedtime": "2026-02-21T20:20:56.815Z",
      "loggroupid": "AAA",
      "logid": "AAA",
      "tenantid": "AAA"
    },
    "source": "example.com",
    "specversion": "1.0",
    "time": "2026-02-21T20:20:54.189Z",
    "type": "com.oraclecloud.emaildelivery.emaildomain.outboundrelayed"
  },
  "regionId": "us-phoenix-1"
}
In the above example, we received a hard bounce, indicating that the email address was invalid.
Details for Email Delivery Logging - JSON Examples and field descriptions.
Email Delivery Policies - Setting up access to view the logs.
Email Log Searching - Syntax for searching the email logs.
Even though the OCI console includes a deliverability dashboard and a UI to access logs, it would be much easier if we could get these logs into the database so we can view them from an APEX page. In this section, I will cover how to set up an OCI service account to access the OCI Logging REST API.
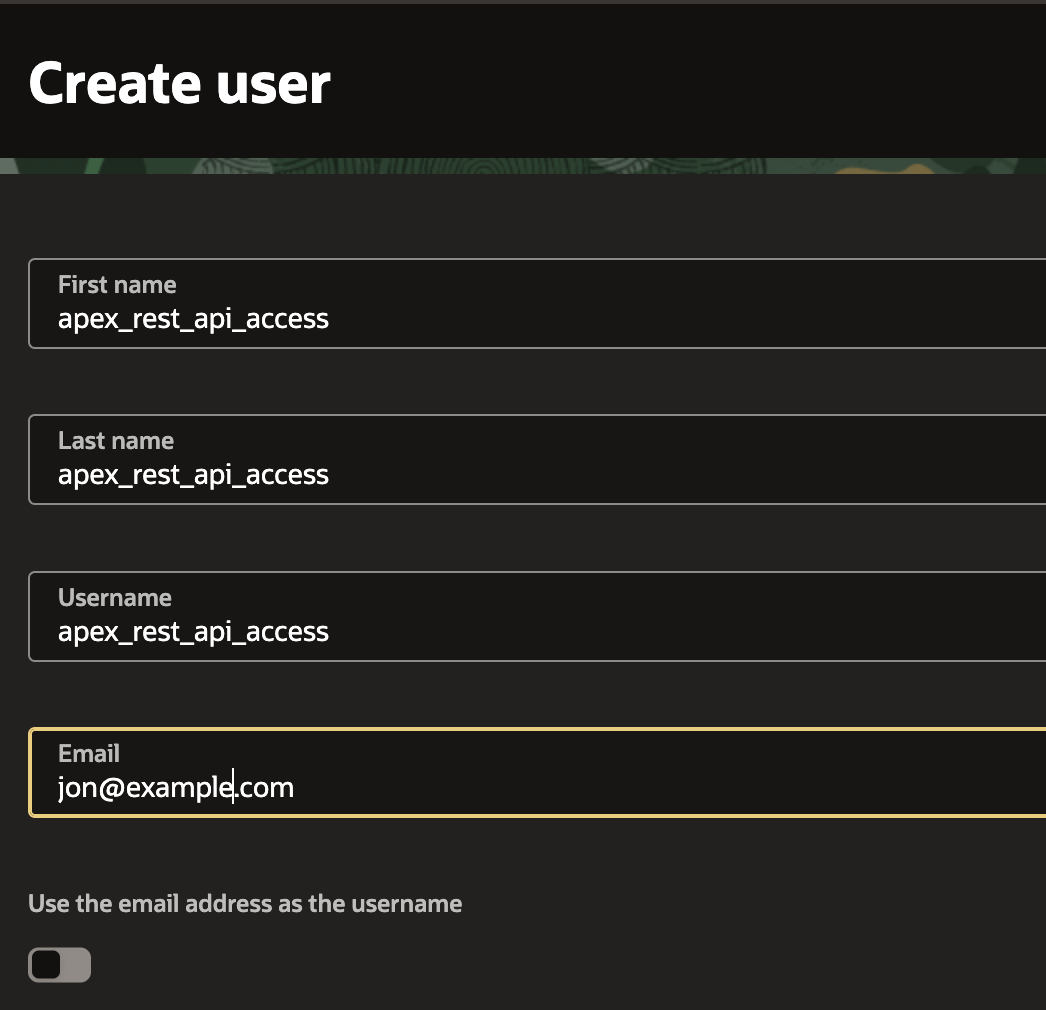
Navigation: Identity and Security > Domains > Select your domain > Click Create
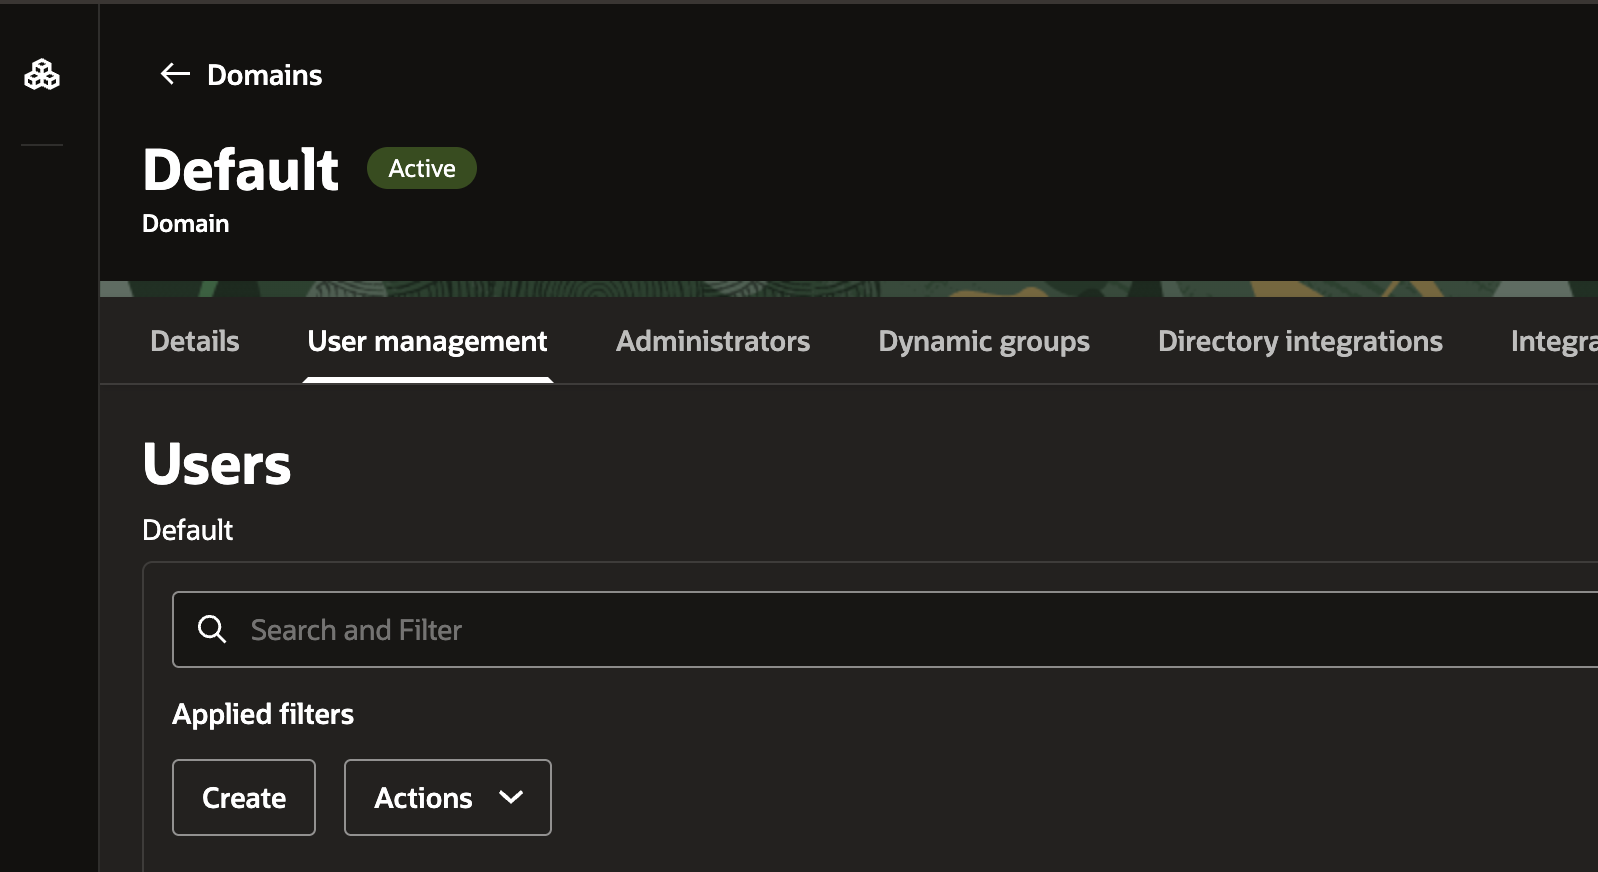
Enter a username and click 'Create':
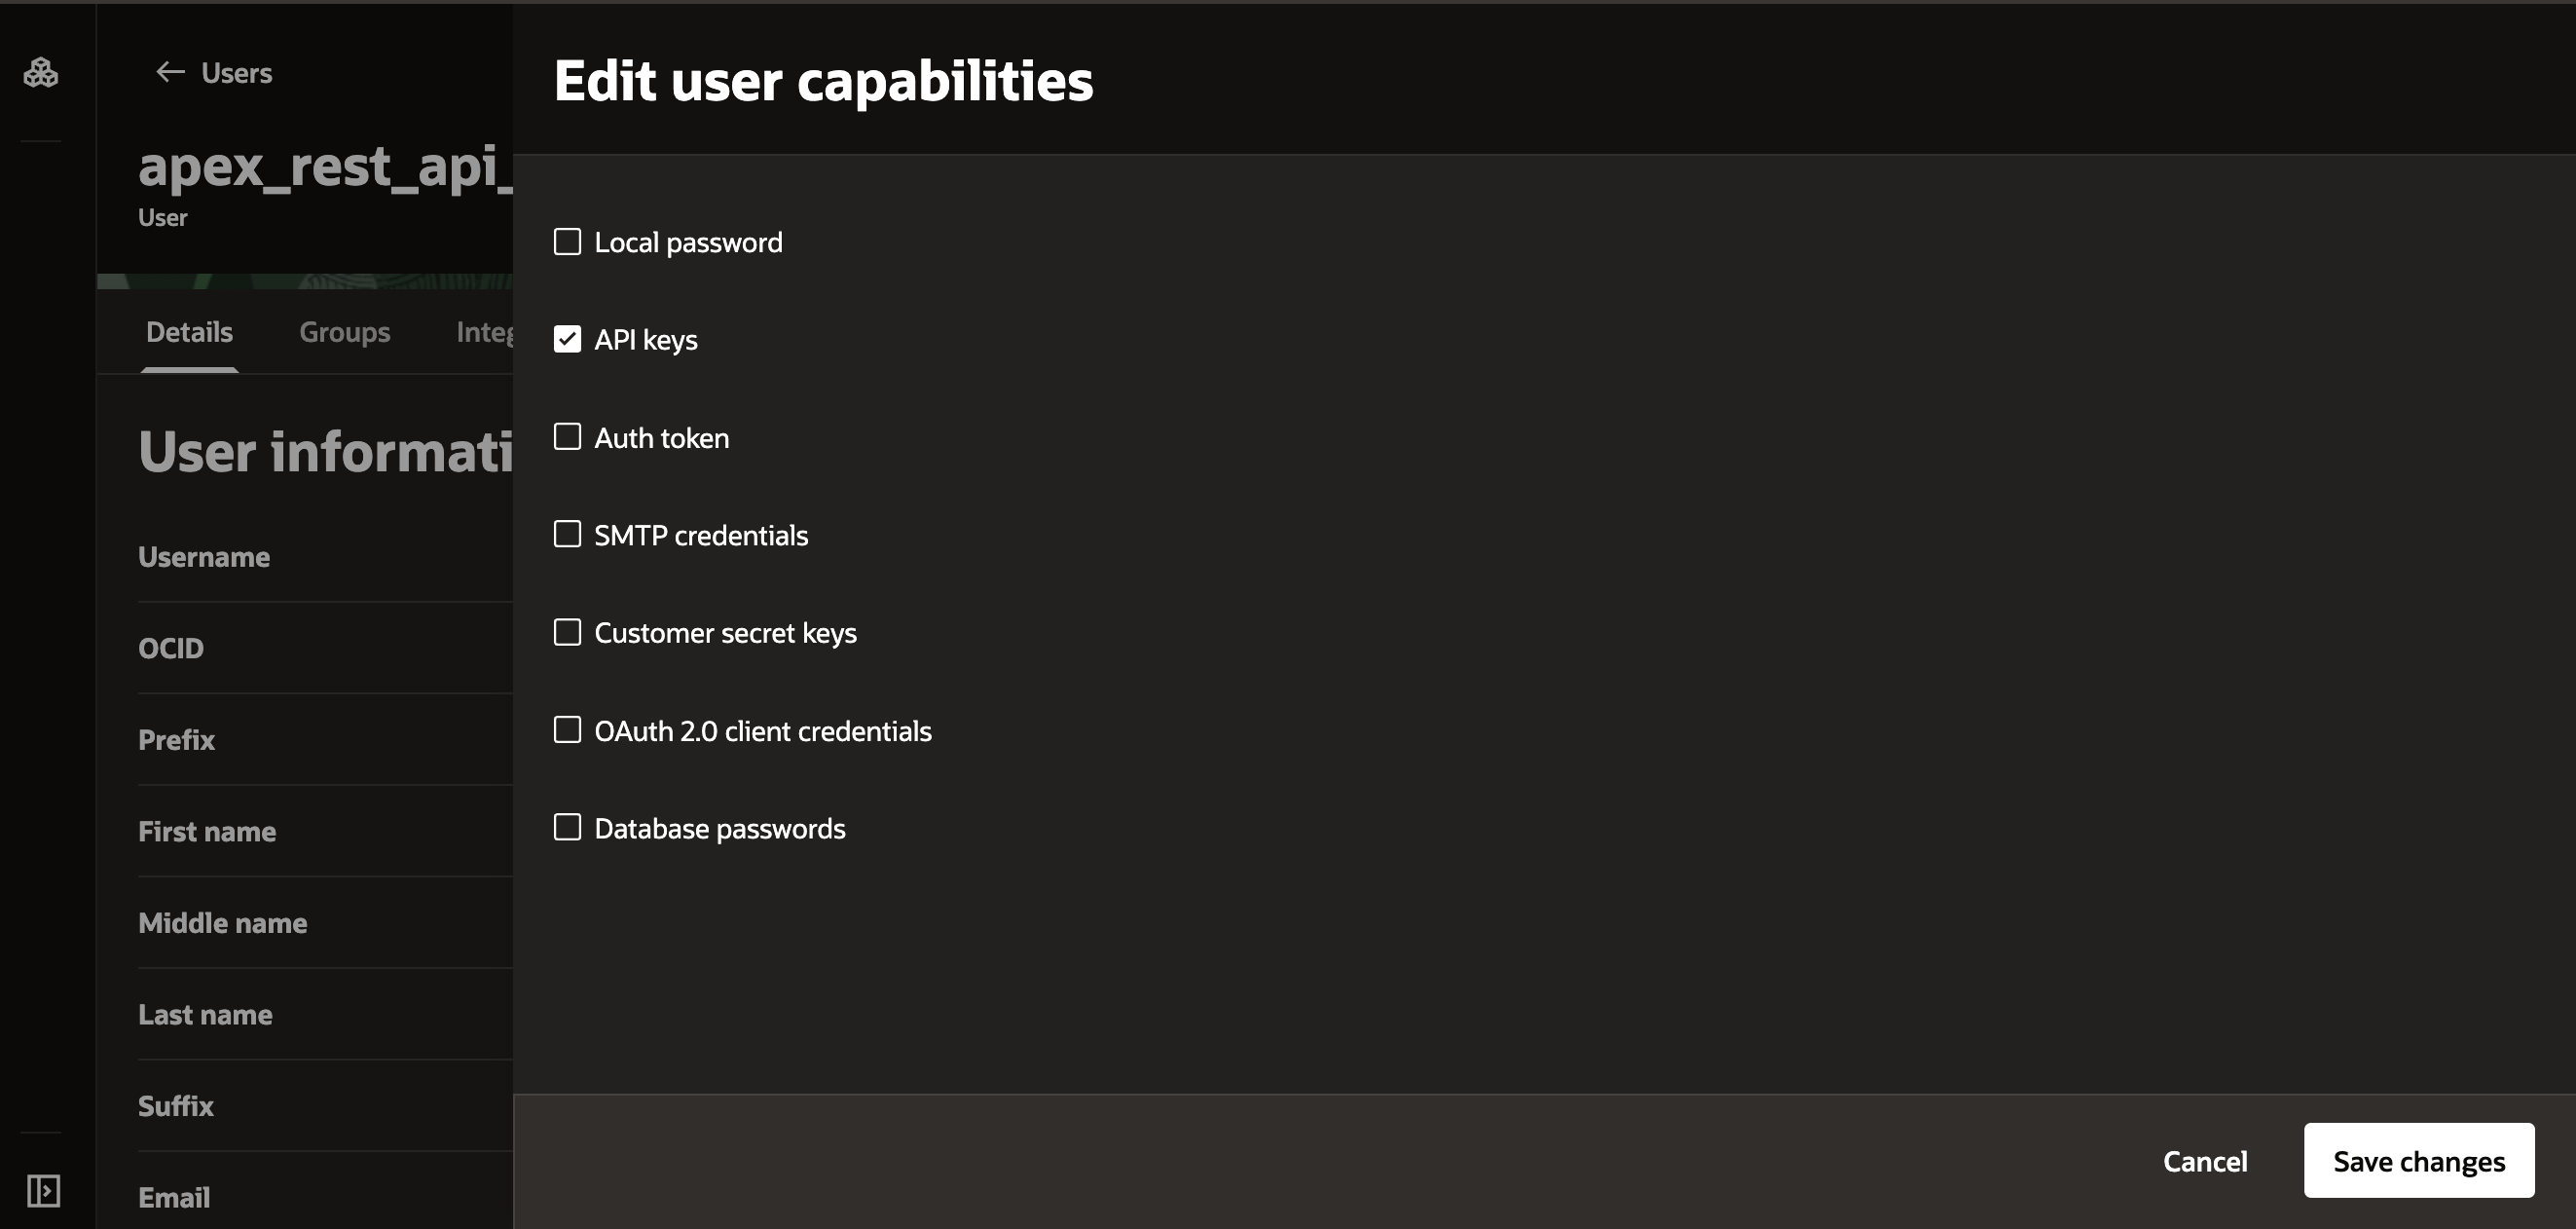
Click Actions > Edit User Capabilities:

Uncheck all options except 'API Keys' and click 'Save Changes':
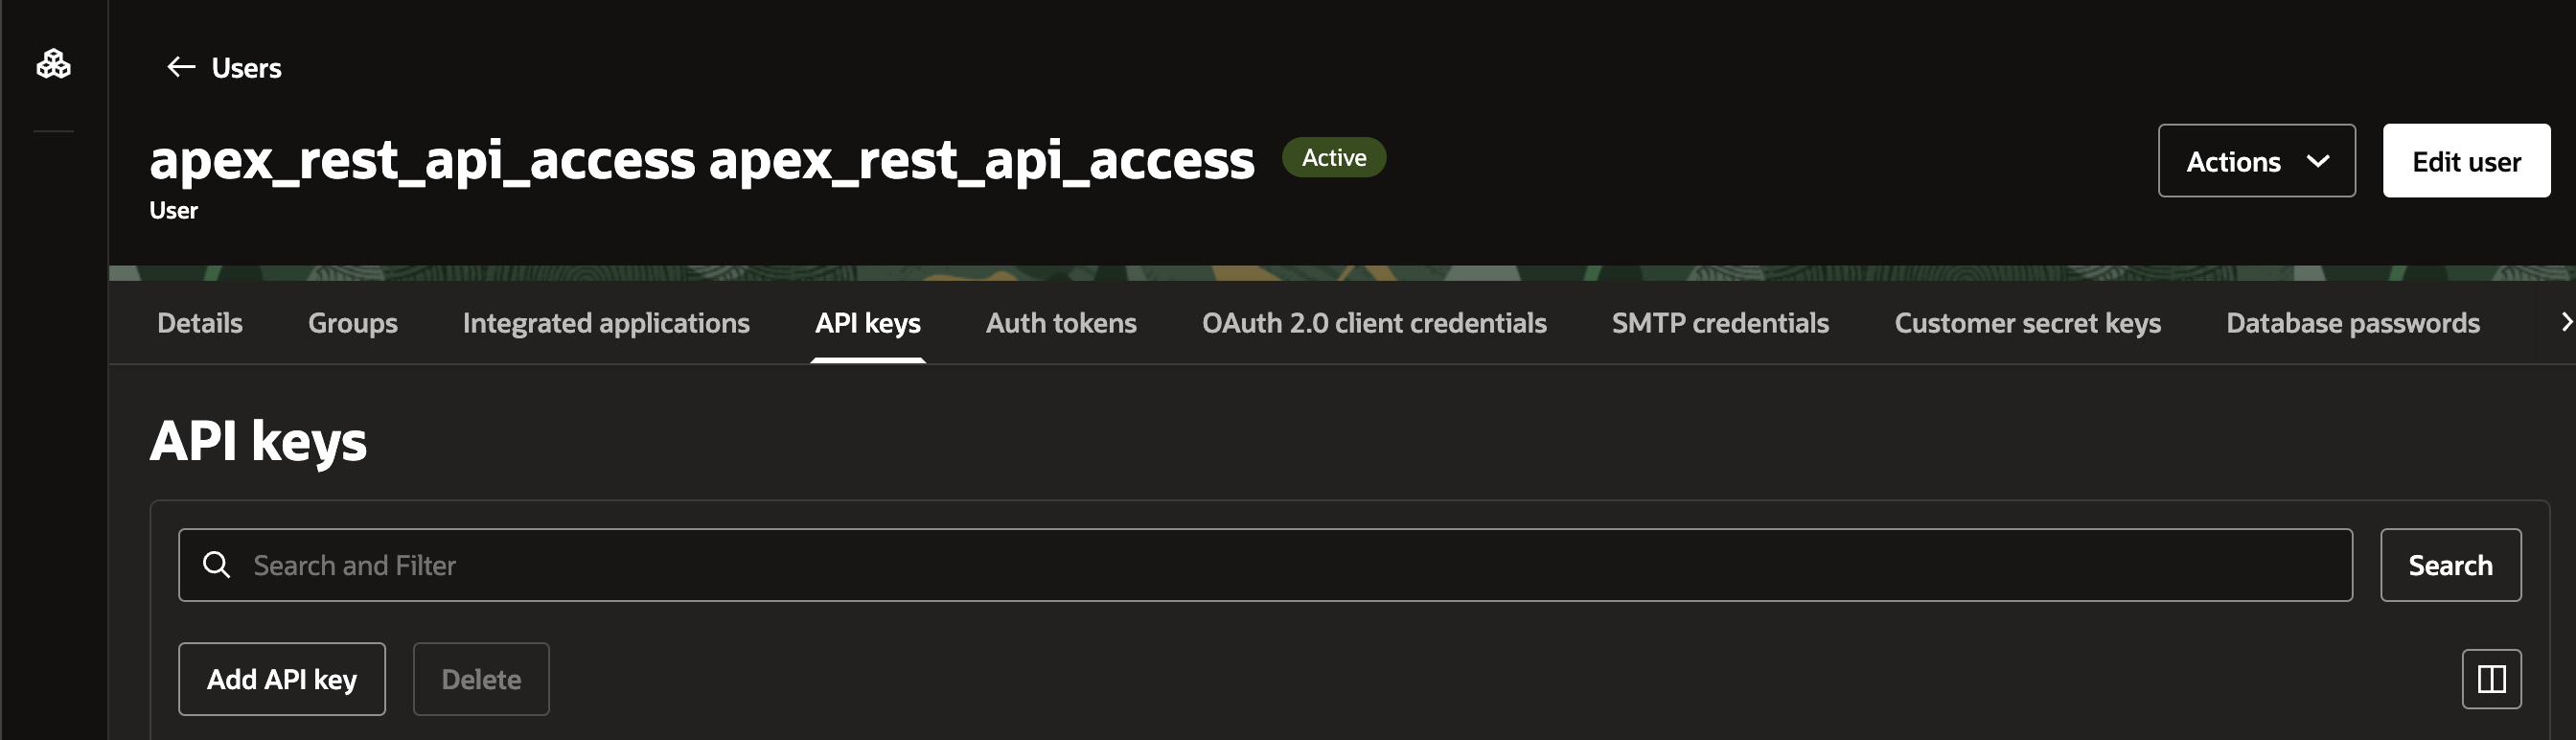
On the user page, select the 'API keys' tab, then click Actions > Add API key
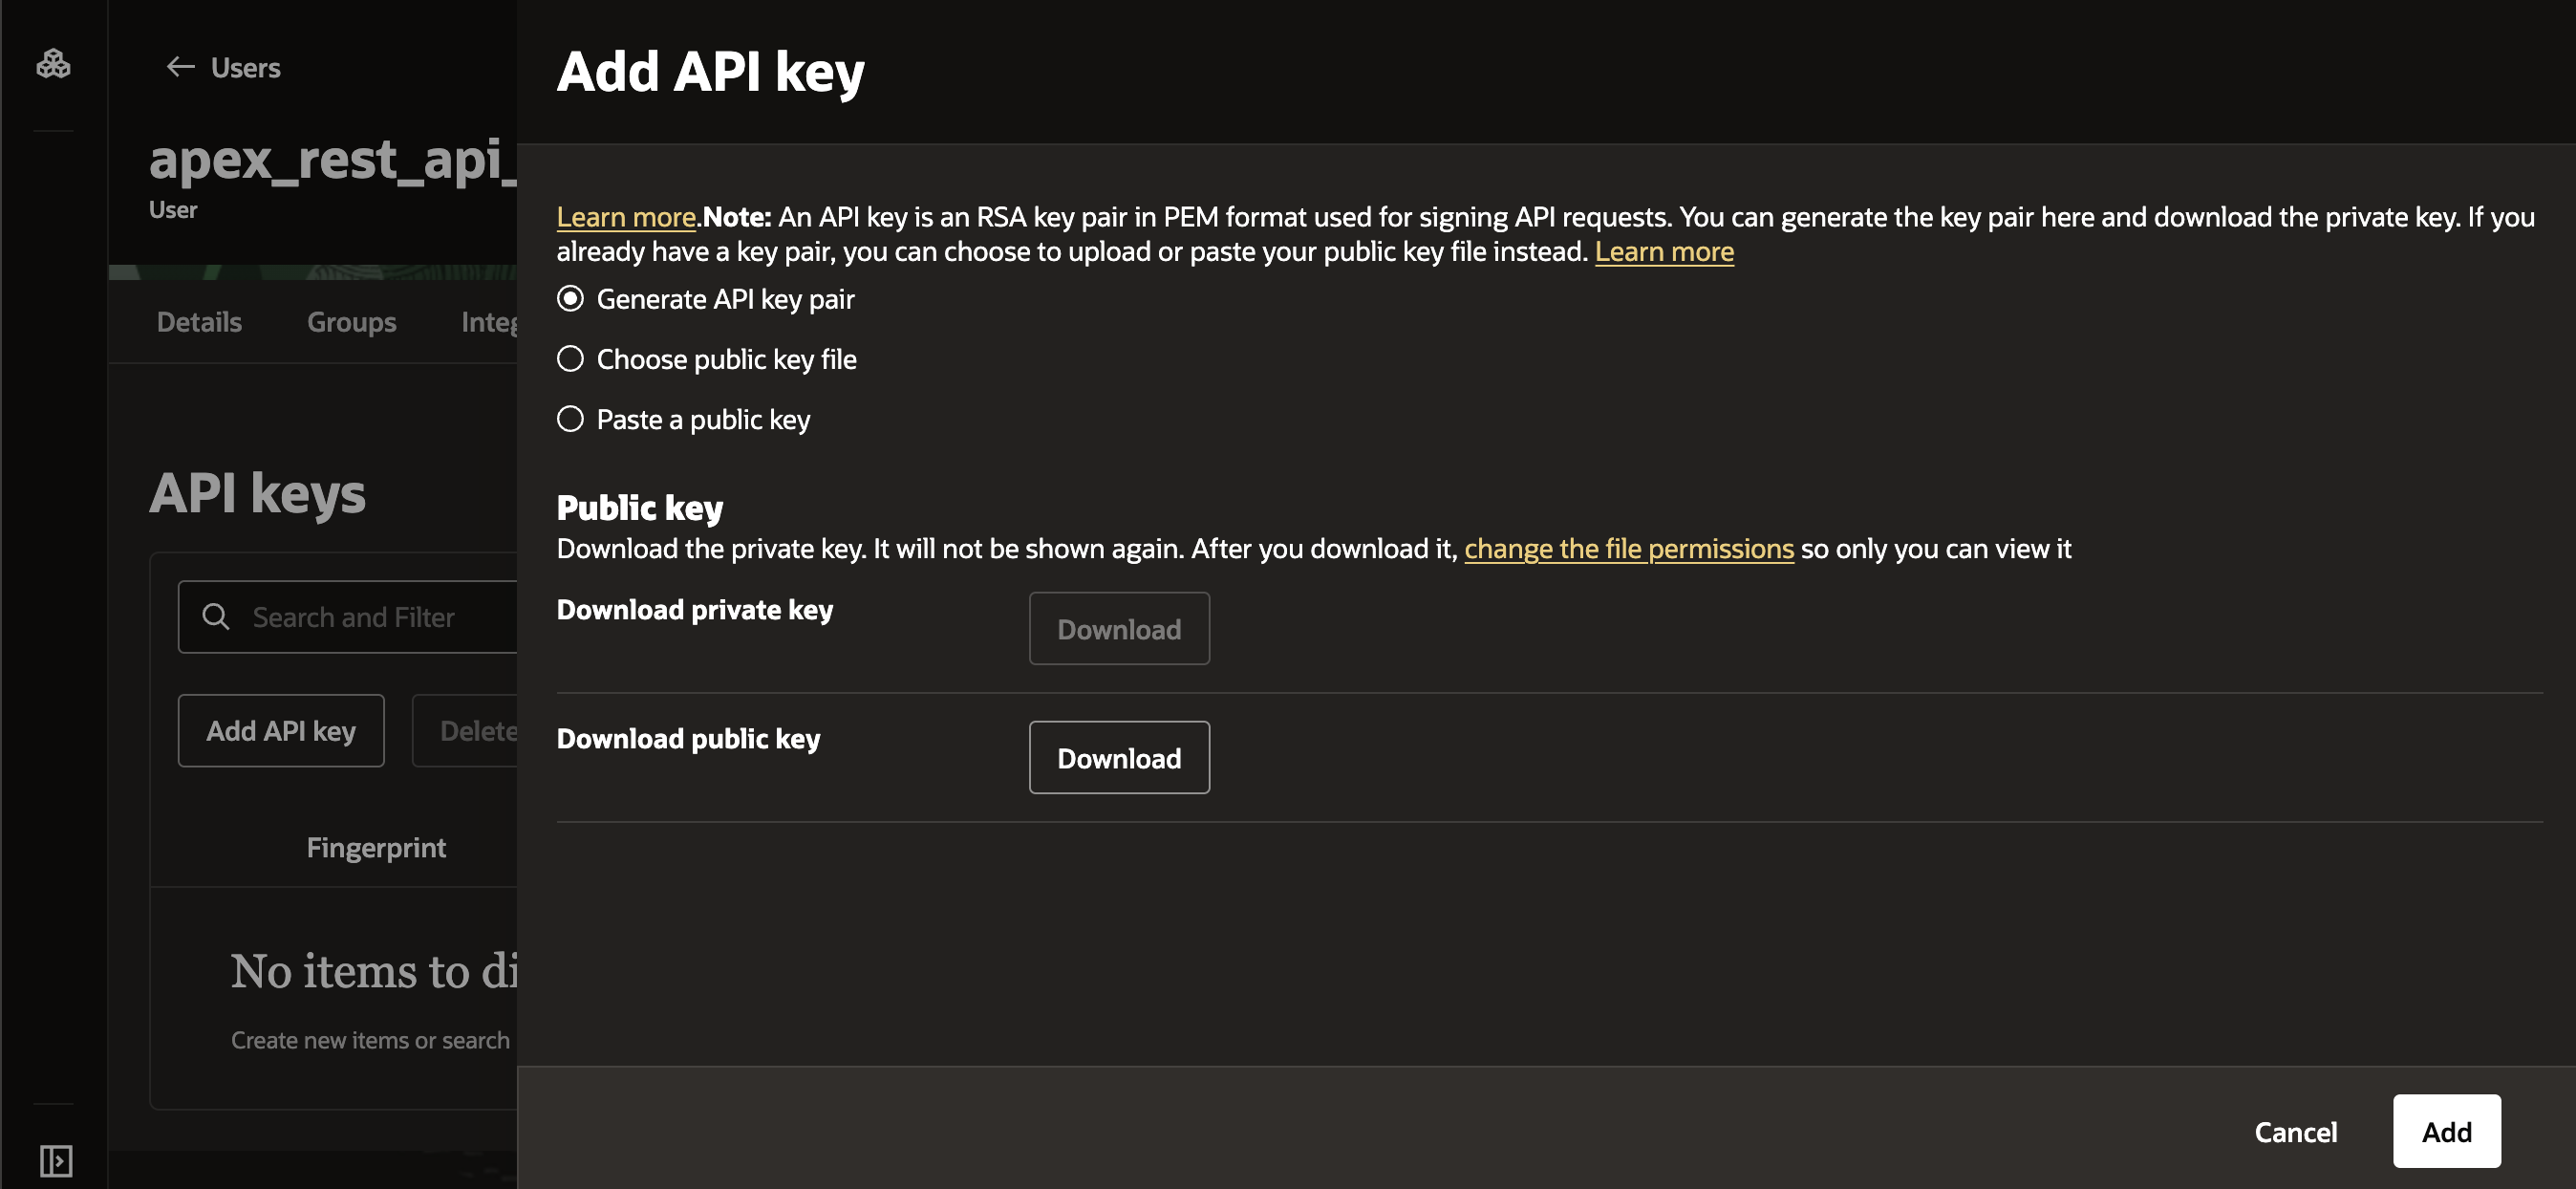
Download the public and private key, then click 'Add':
Back under the User Management tab, scroll down to Groups:
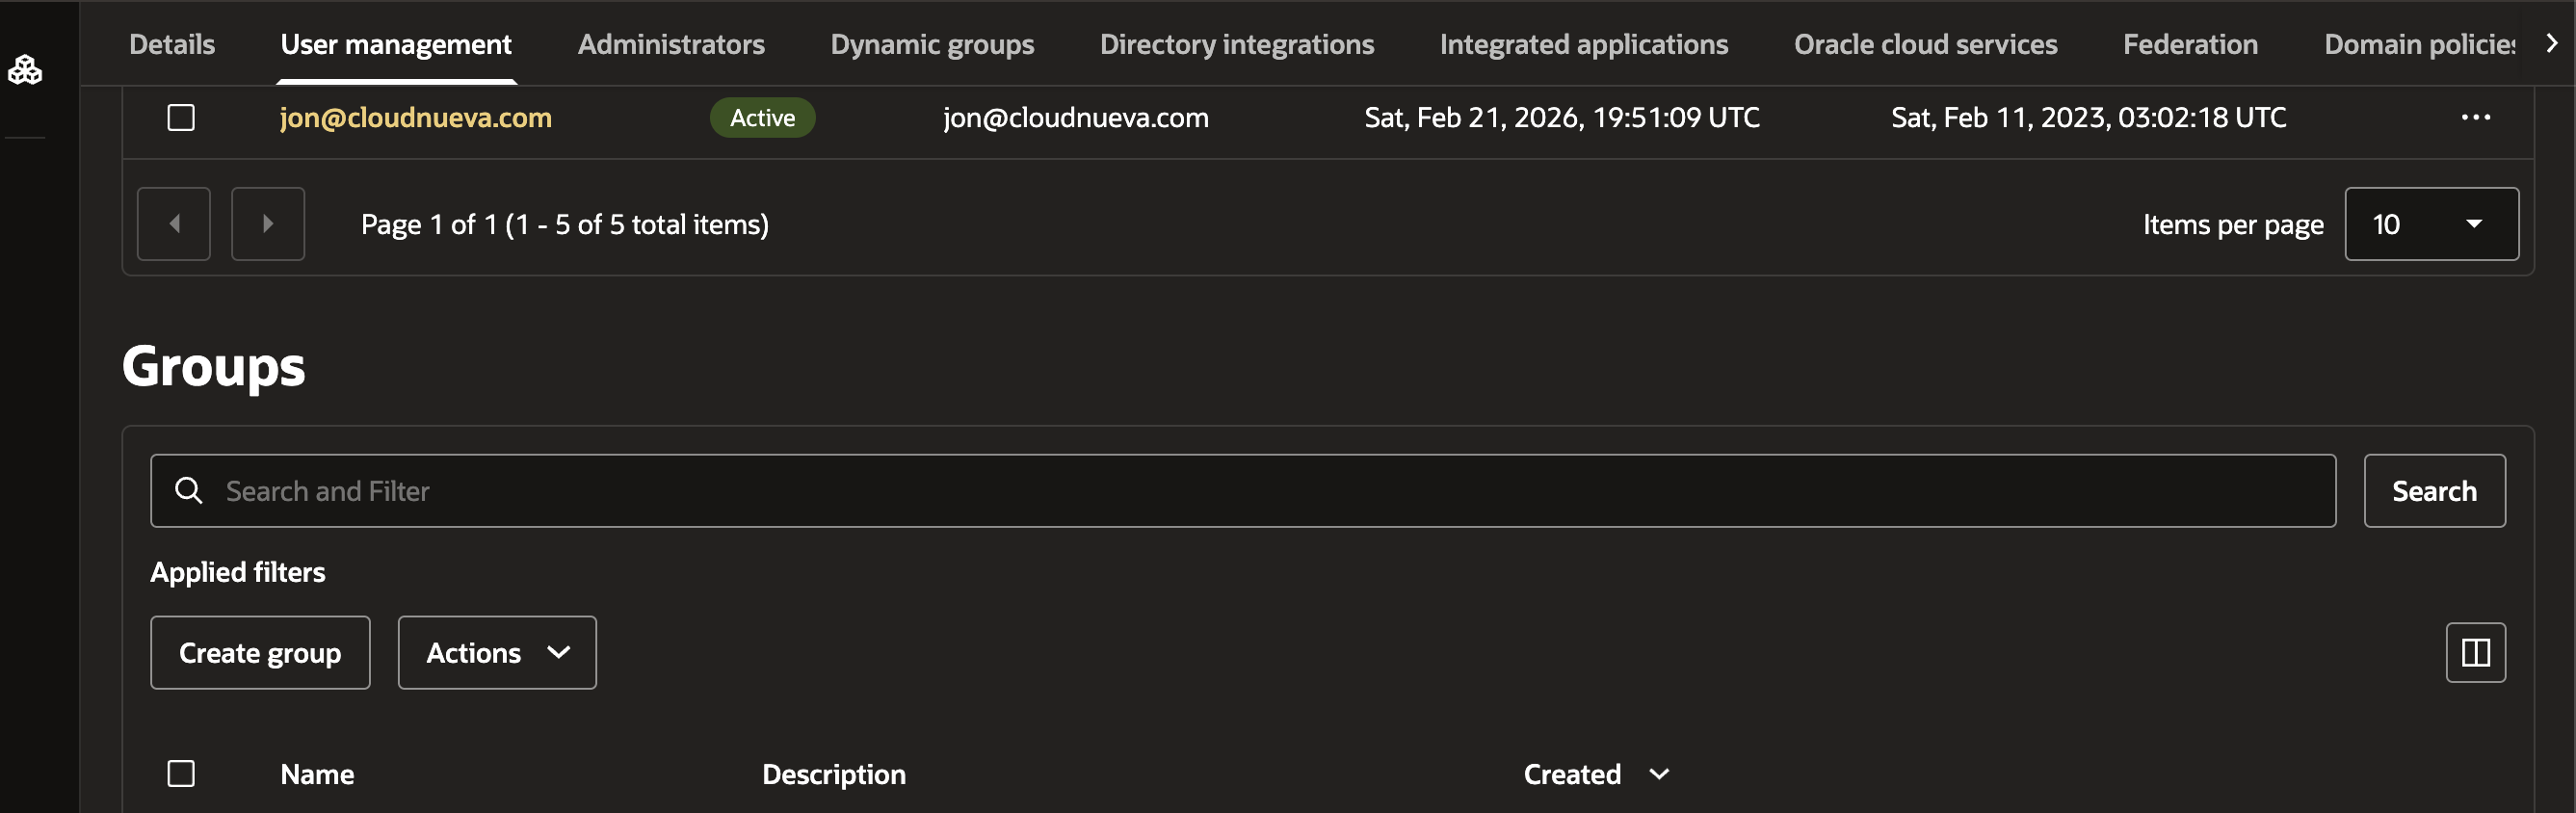
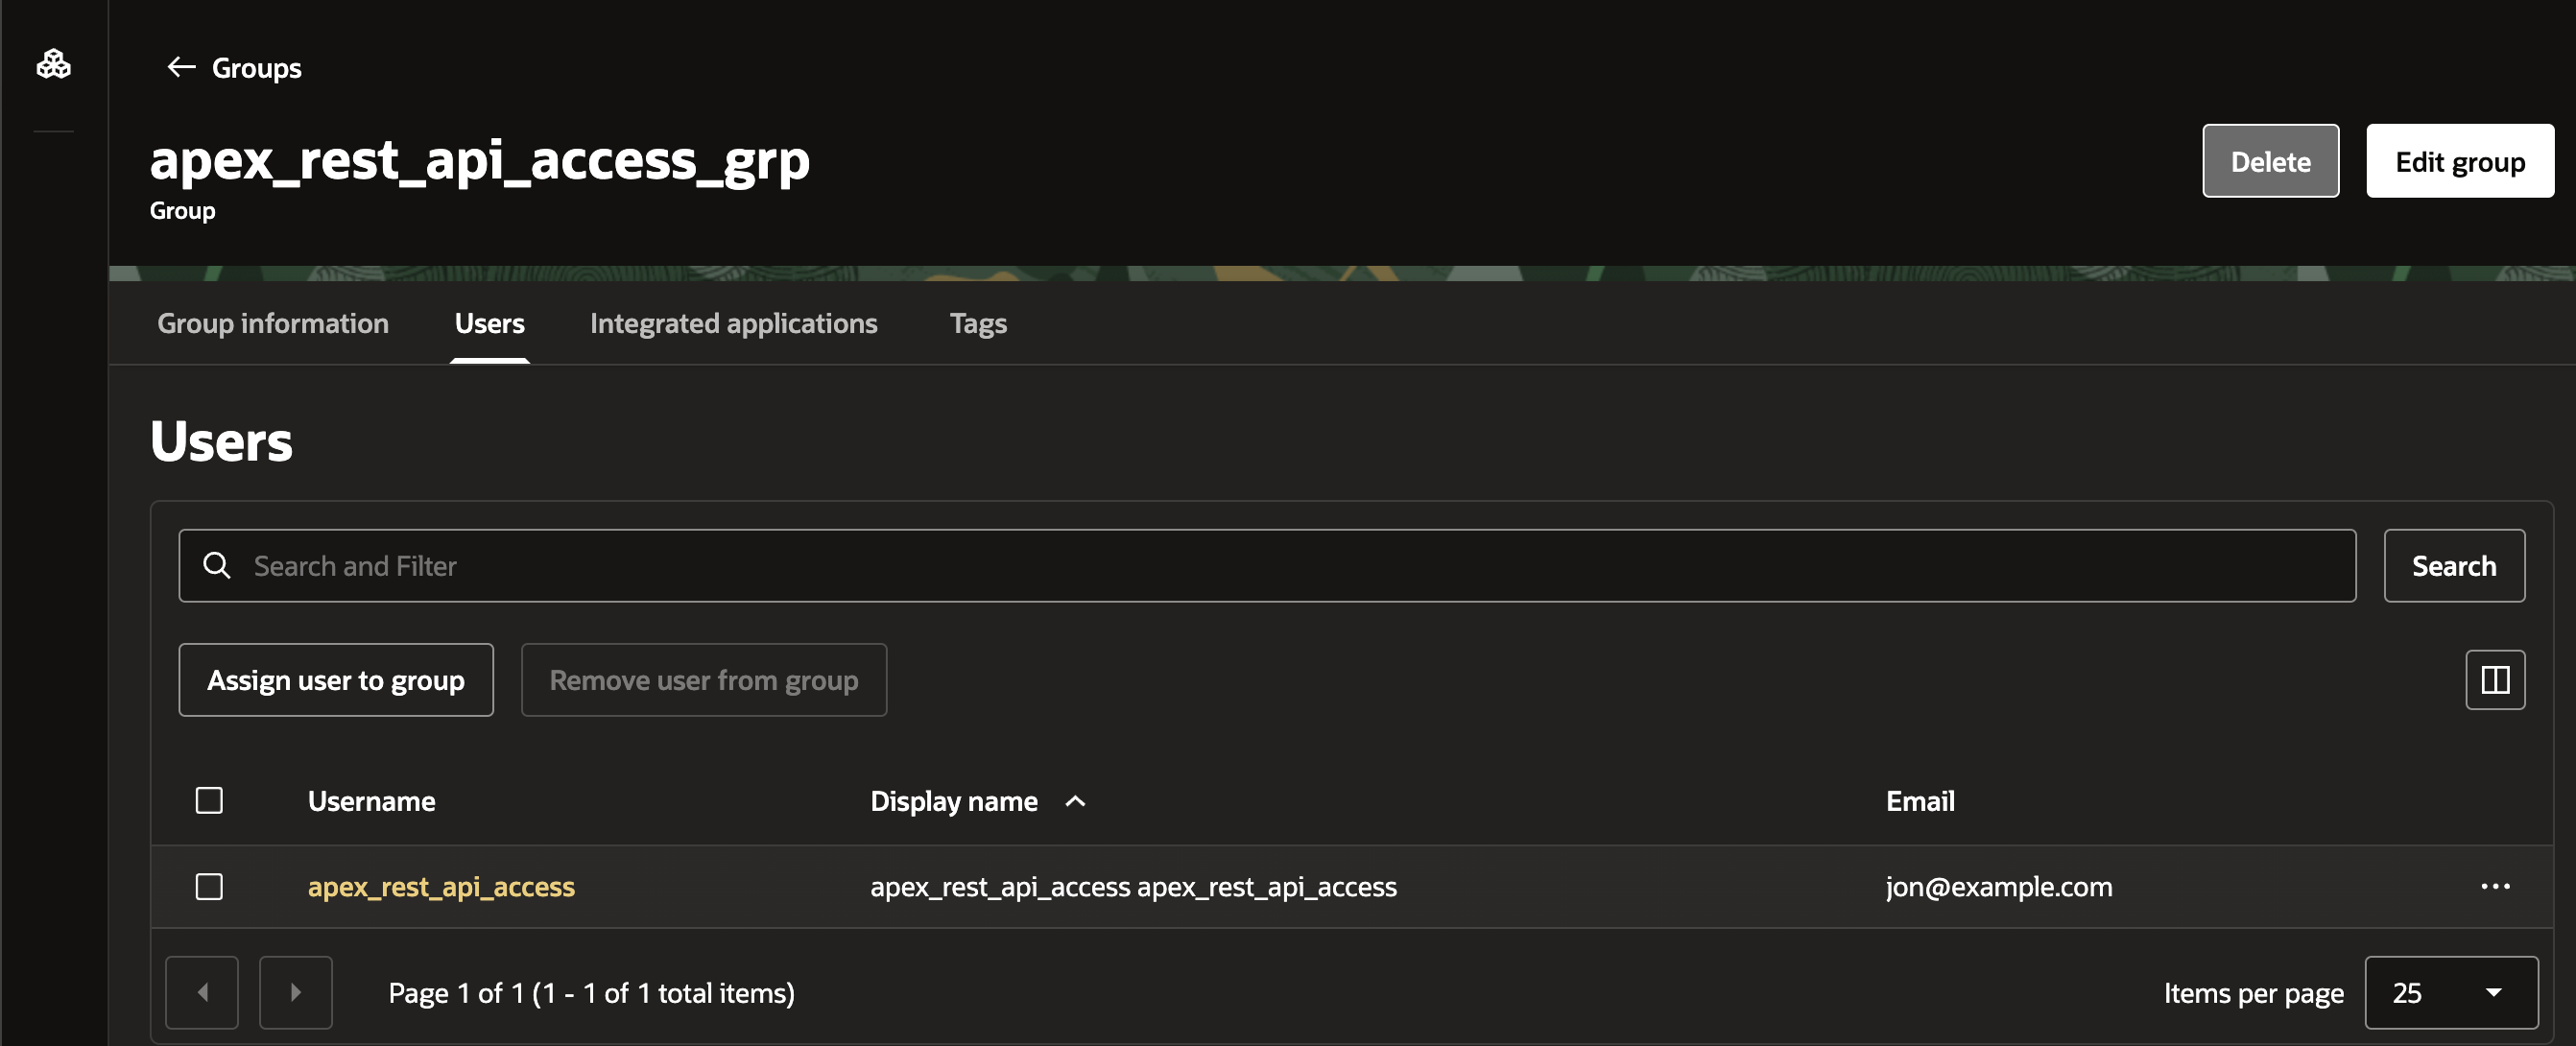
Create a new Group:

Add the new user to the group:
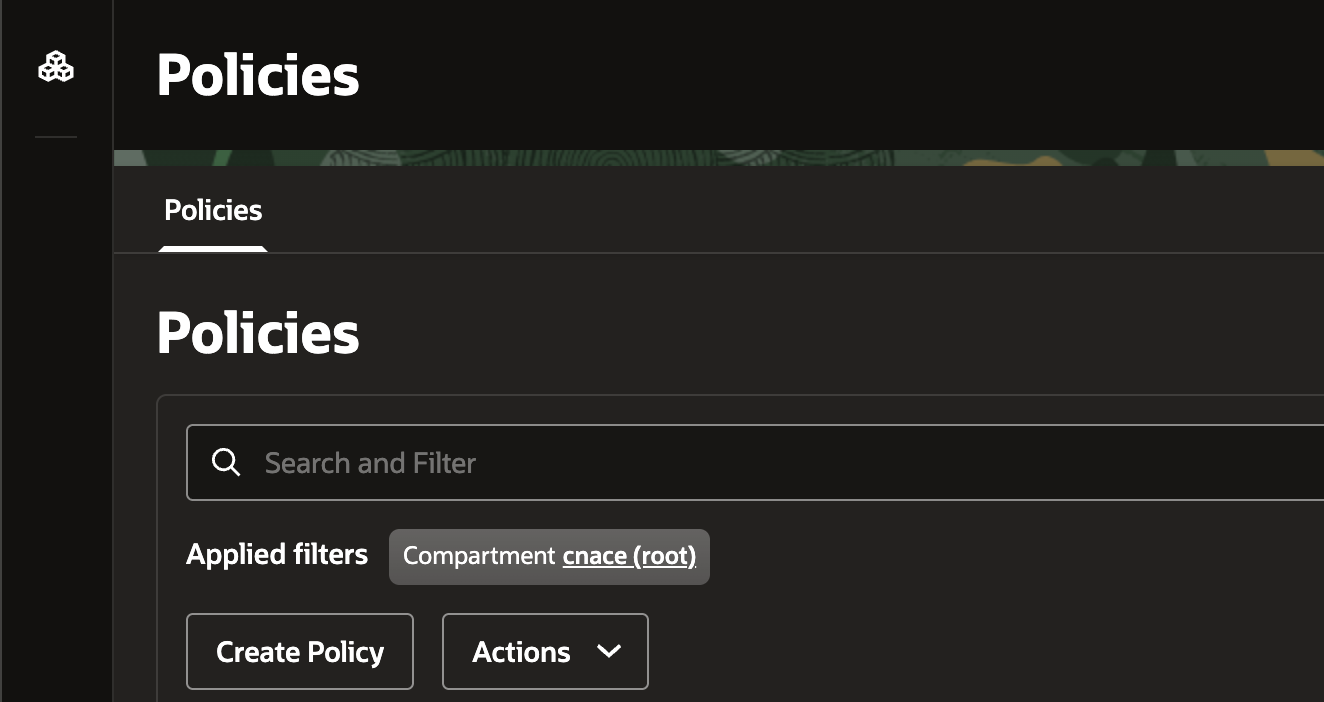
Navigate to: Identity & Security > Policies > Click 'Create Policy':
Complete the Policy details and click the 'Create' button:
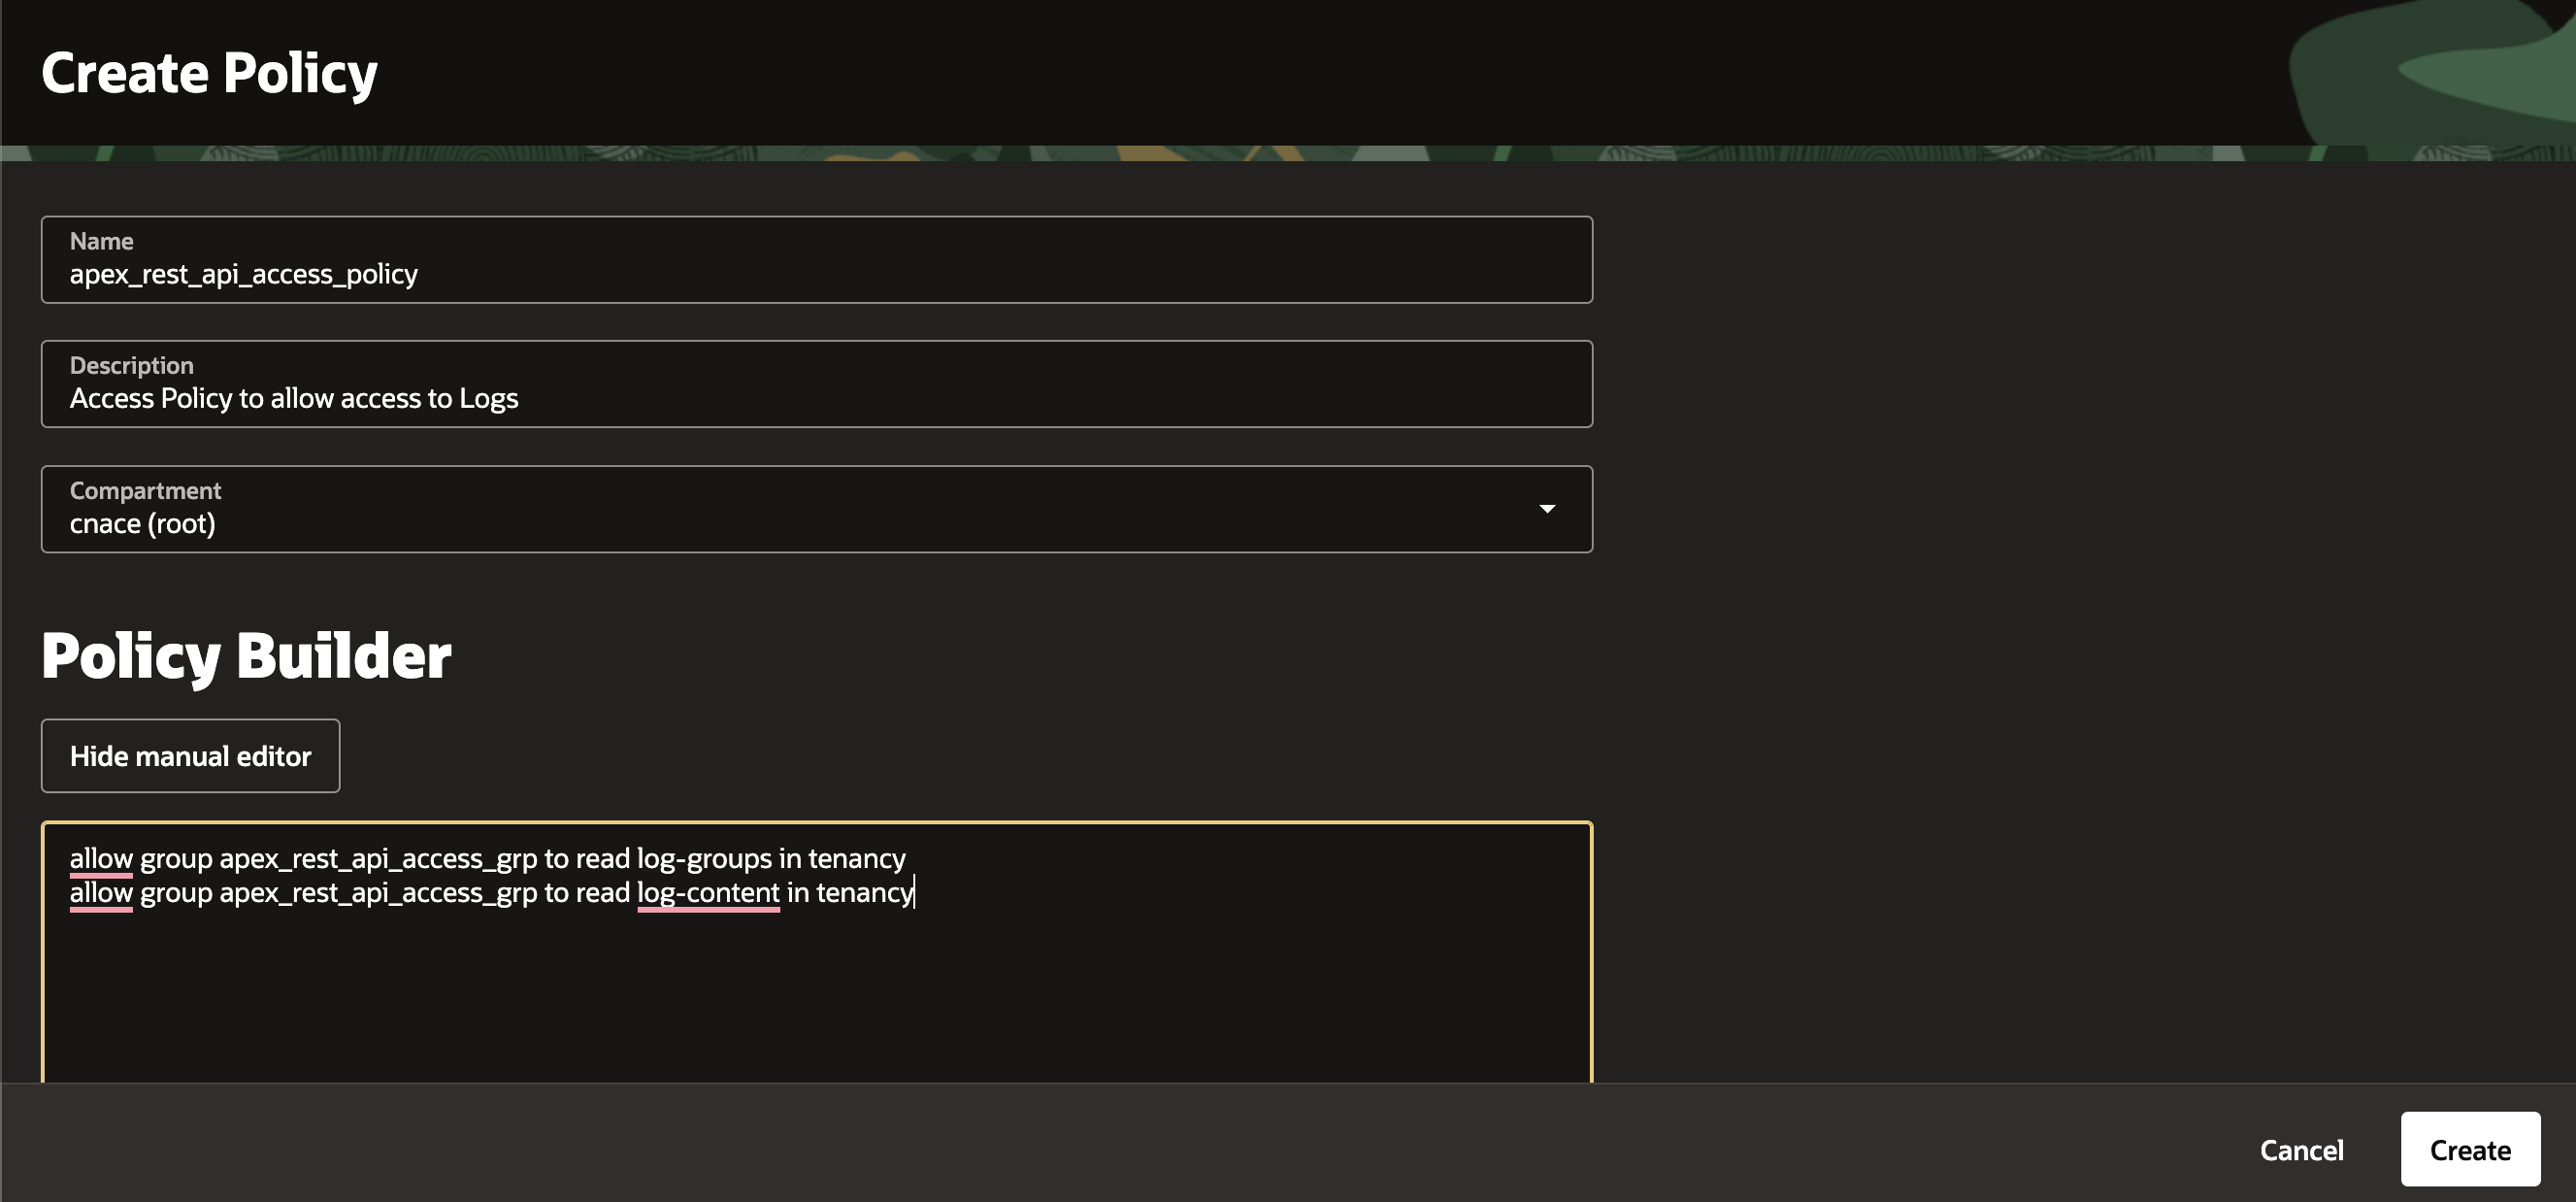
Policy Statements:
allow group apex_rest_api_access_grp to read log-groups in tenancy
allow group apex_rest_api_access_grp to read log-content in tenancy
The OCI logging service offers a REST API you can use to consume any logs. My instance is in the Phoenix region, so my endpoint is:
https://logging.us-phoenix-1.oci.oraclecloud.com/20190909/search
You can see a full list of Logging Endpoints here, and details on using the search API here. You will also need to understand the logging query language. This query language allows you to filter results to see only bounces if that is what you are interested in.
The endpoint requires that you send a POST request with a payload like this:
{
  "timeStart": "2026-01-19T01:02:29.600Z",
  "timeEnd":   "2026-01-19T02:02:29.600Z",
  "searchQuery": "search \"<tenancy_ocid>/<log_group_ocid>/<log_ocid>\" | sort by datetime desc",
  "isReturnFieldInfo": false
}
The Logging Search API returns up to 1000 entries per call and supports paging via a next-page token/header (client-managed). Searches/exports are limited to a maximum 14-day time window per request.
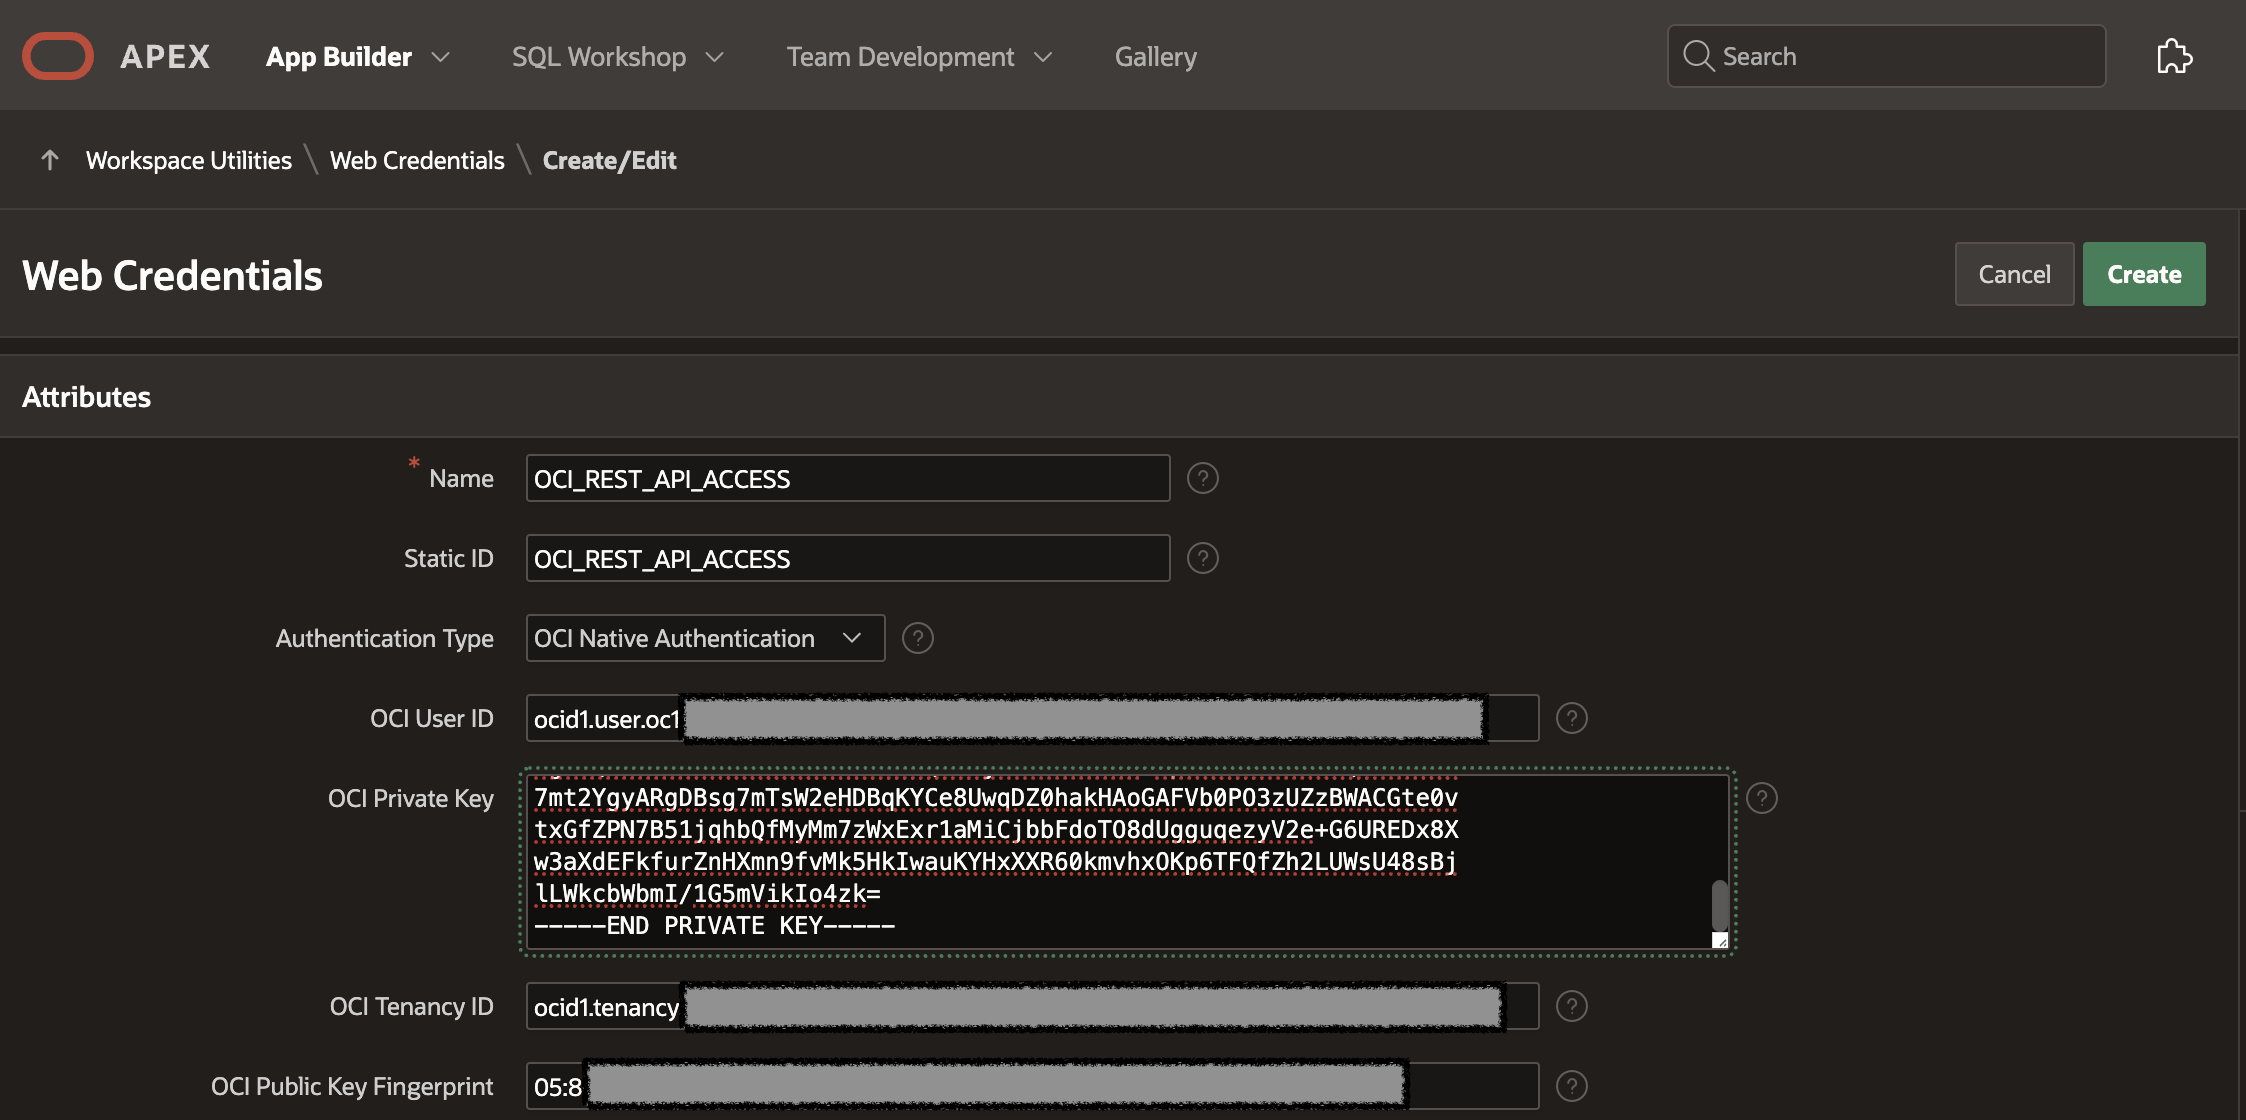
You will need an APEX Web Credential of type 'OCI Native Authentication' to access the REST API from APEX.

Enter the details from your OCI user's 'Configuration file preview' above. For the OCI Private Key, copy and paste the value from the private key file downloaded above. Click Create to complete the creation of the APEX Web Credential.
The obvious first choice for consuming a REST API is to use a REST Data Source. I won't get into the step-by-step, but here are a few things that tripped me up when I created one.
In the 'POST' Operation, set the 'Database Operation' field to 'Fetch rows':
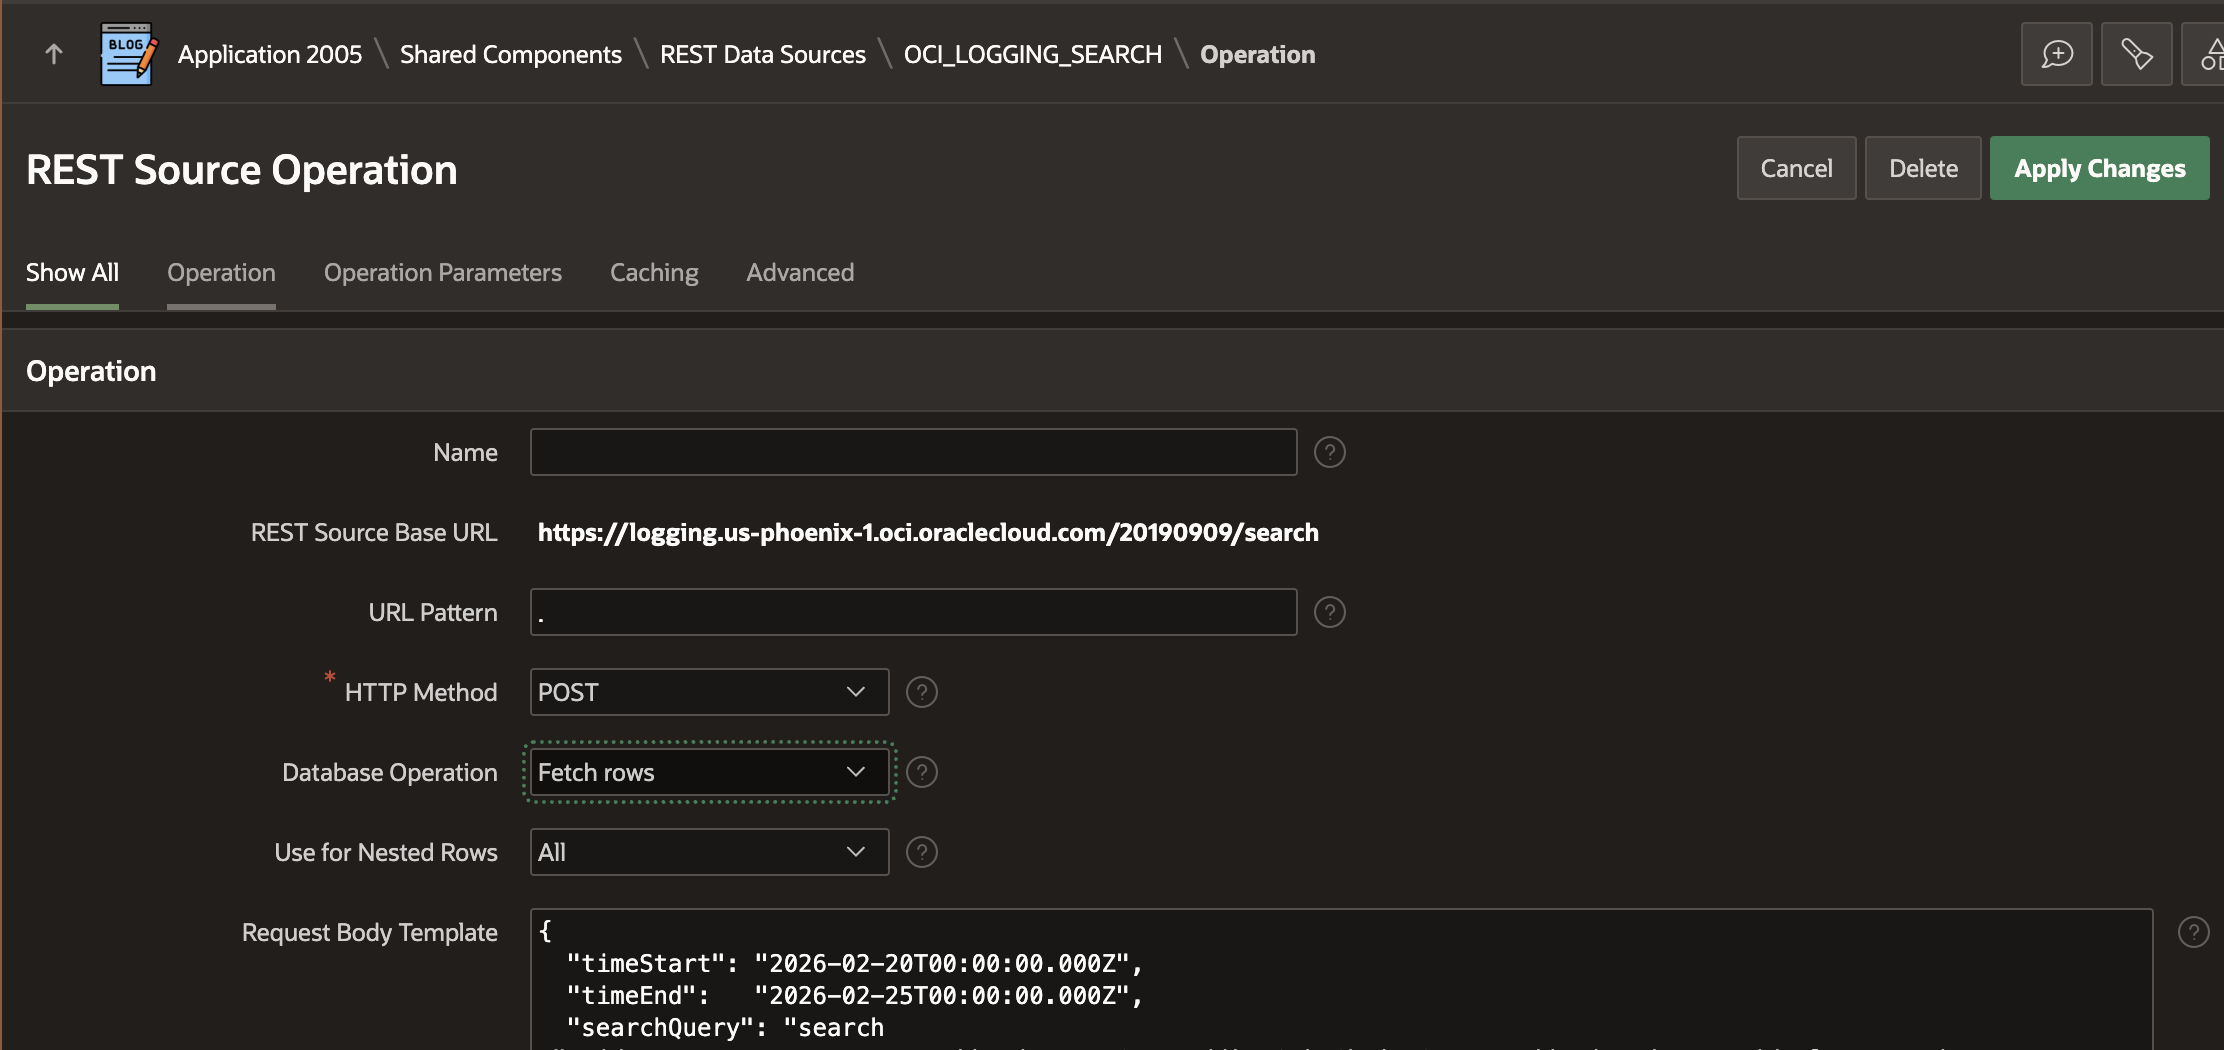
Delete the GET, PUT, and DELETE Operations; we do not need them.
Set up the following parameters:

In the Data Profile, set the 'Row Selector' field to 'results'.
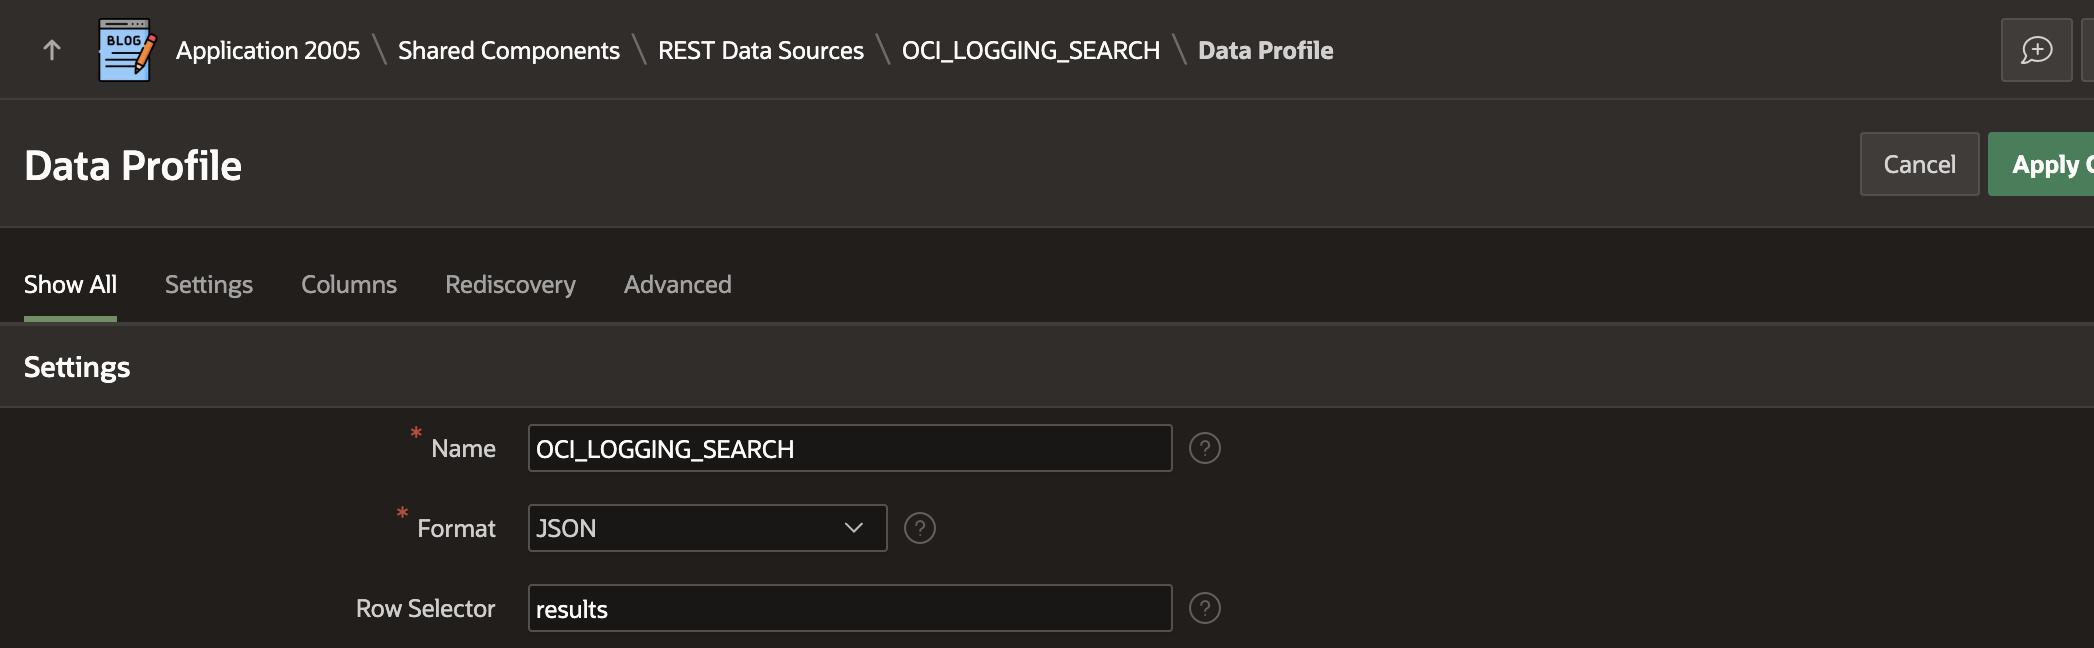
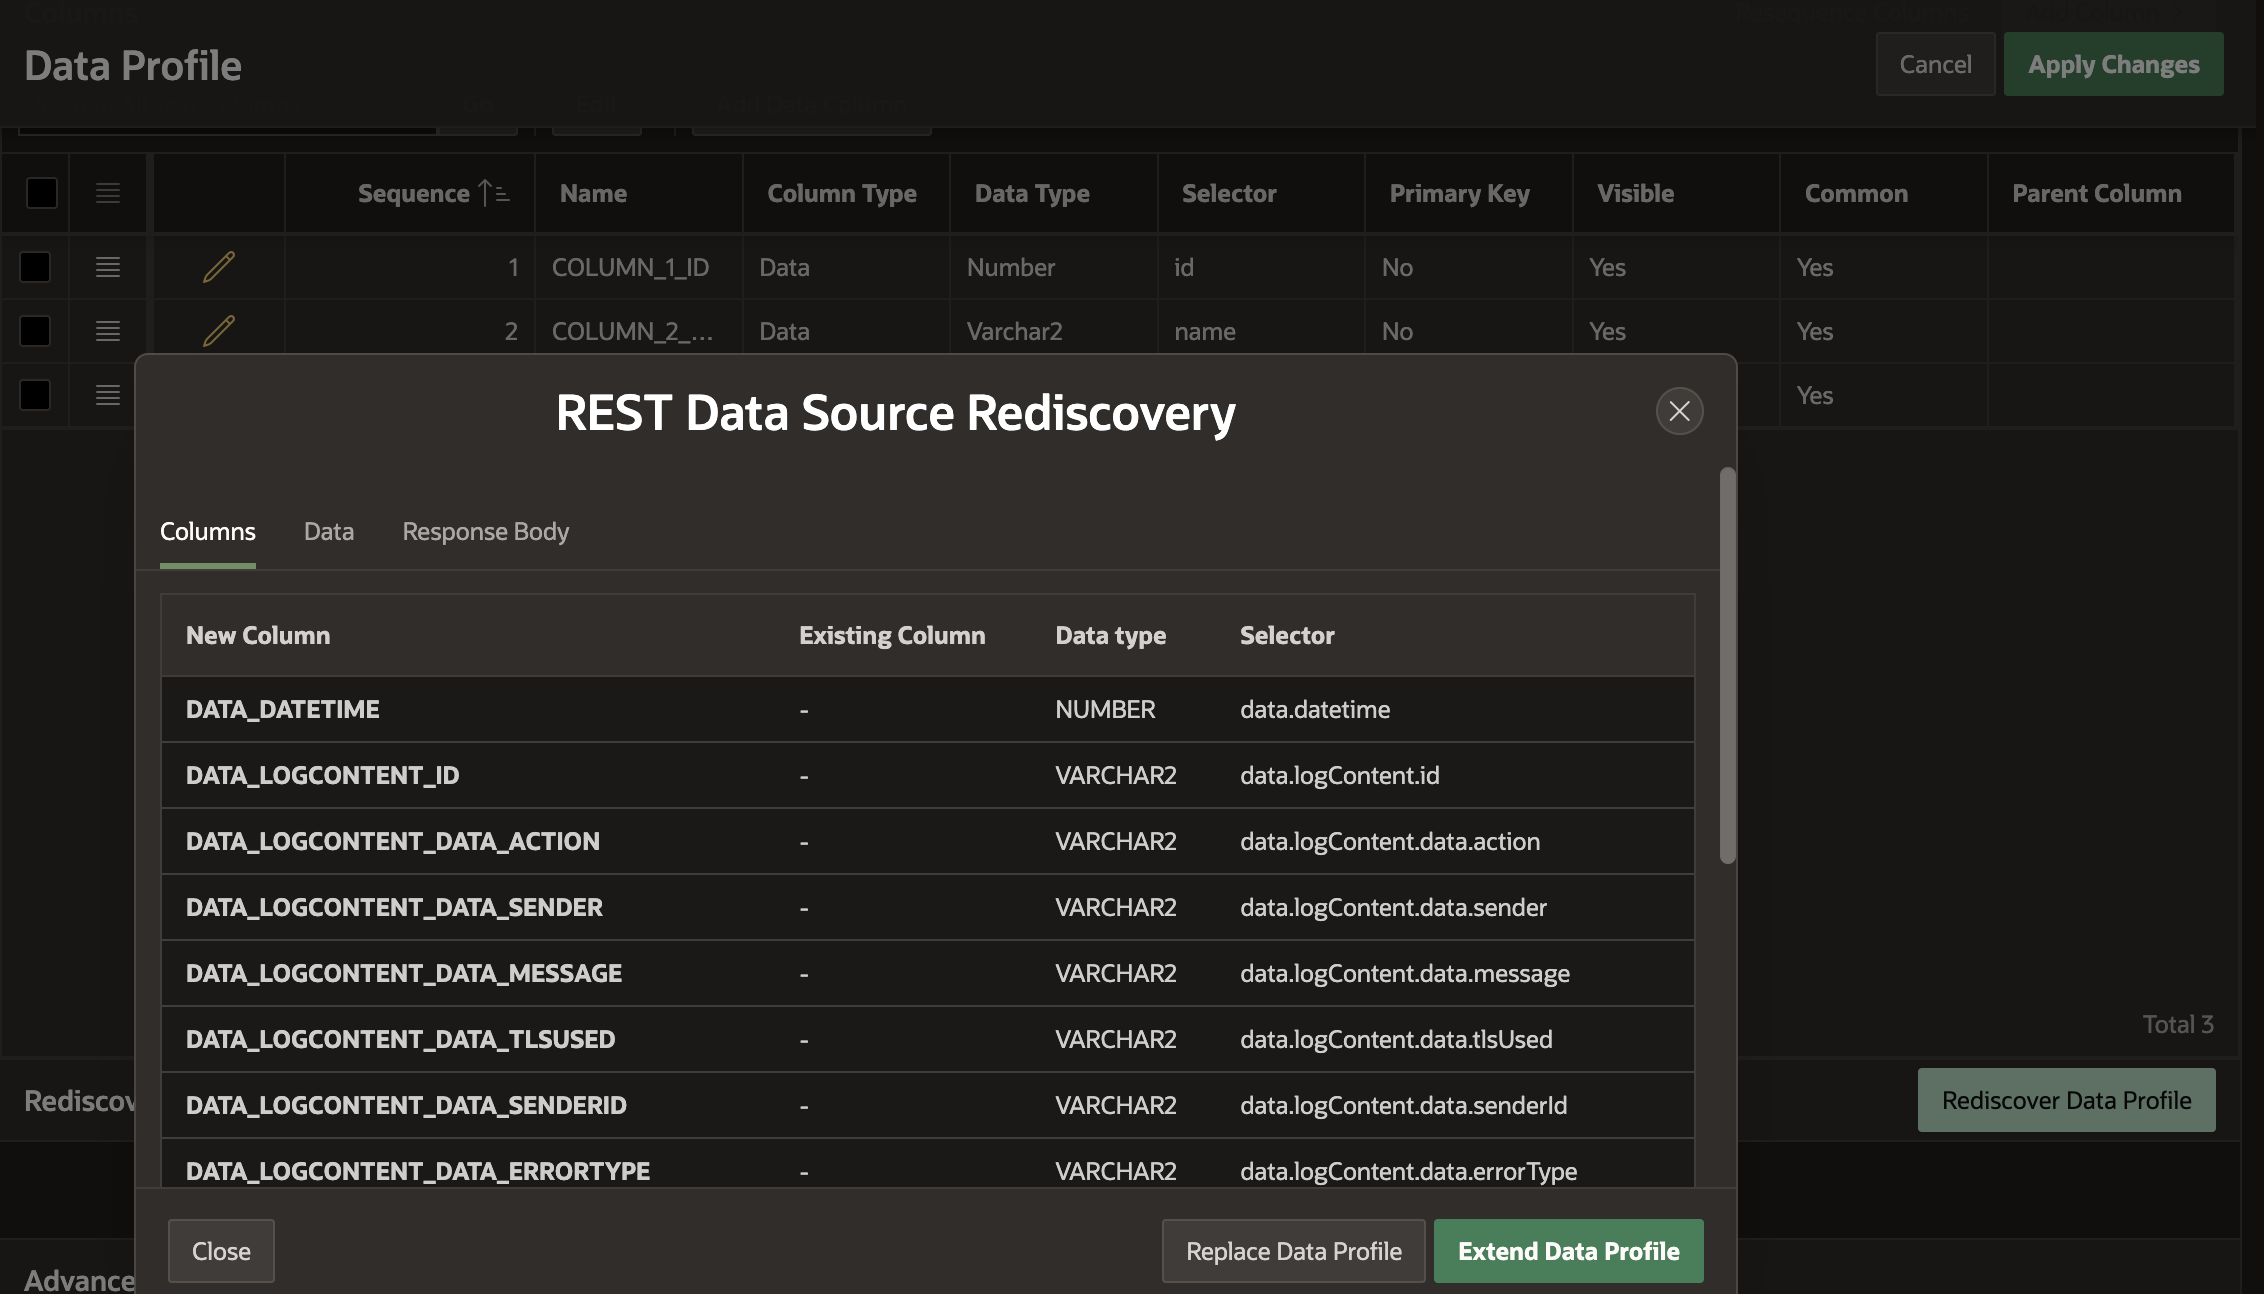
Once all the above is in place, click 'Rediscover Data Profile', then click 'Replace Data Profile'.
Unfortunately, REST Source Types for 'Oracle Cloud Infrastructure (OCI) REST Service' do not automatically walk OCI Logging Search paging tokens. If you are only expecting a few hundred emails a week, that should not be an issue, as you can fetch up to 1,000 log entries at a time. You could create an Interactive Report based on the REST Source, add some Start and End Date Time parameters, and you have everything you need.
If you expect higher email volumes, you could use APEX_WEB_SERVICE to retrieve the data and loop through the pages yourself, or build a REST Source Connector plug-in.
If you expect to send fewer than 1,000 emails per hour, it may be easier to use a REST Source Sync to sync the last hour's logs to a local table. This has the advantage of circumventing the 14-day window limit of the logging API.
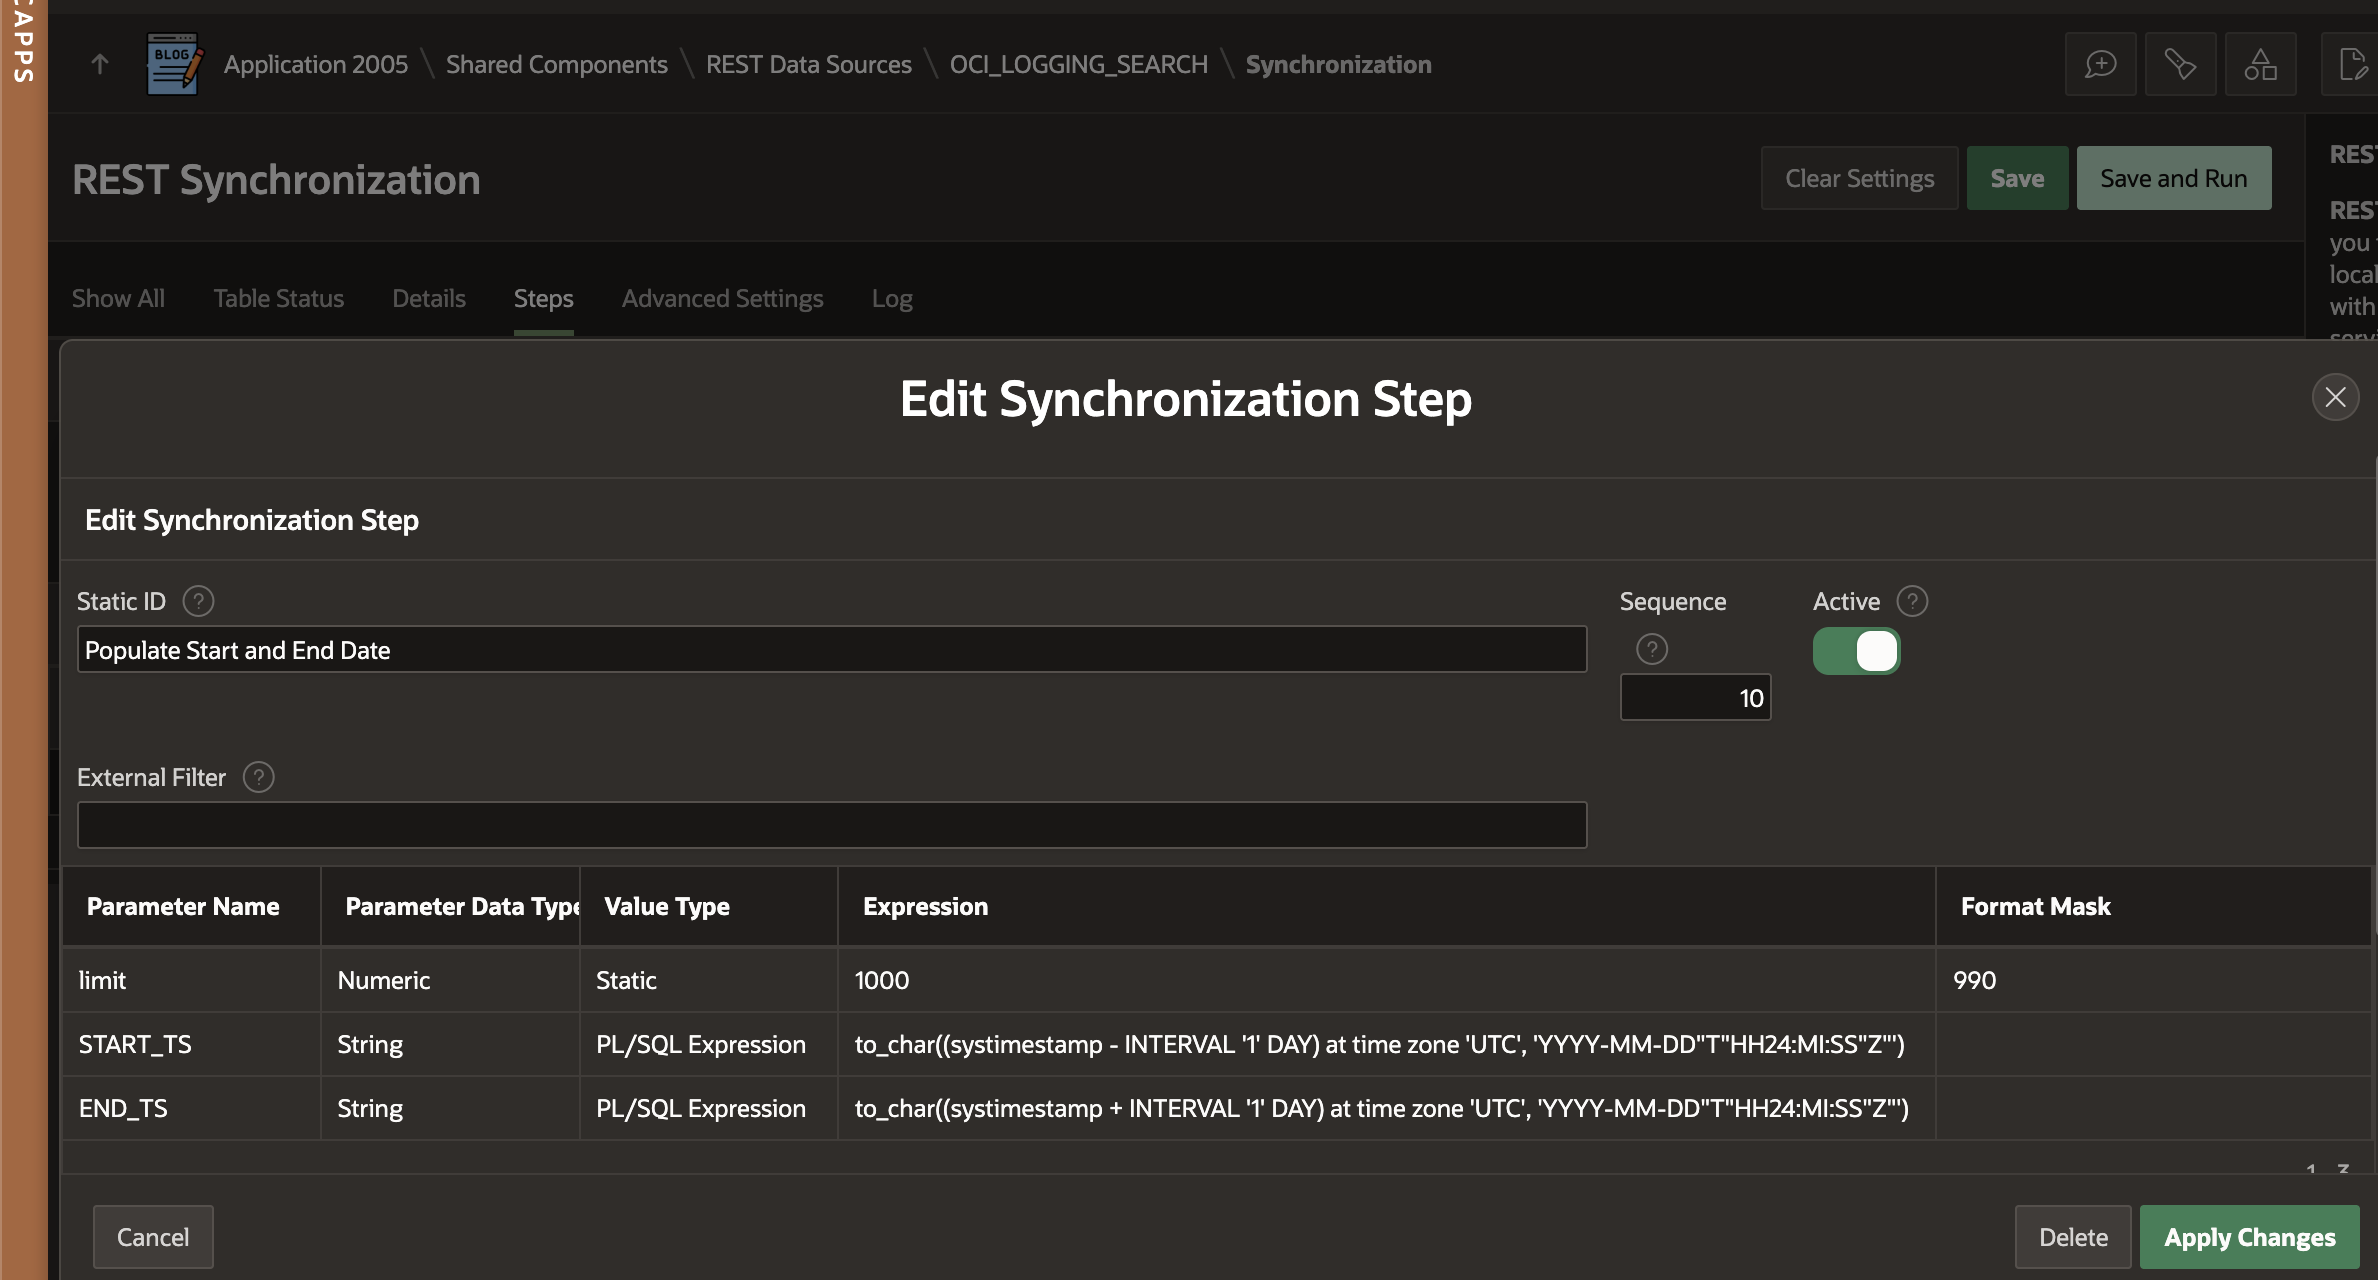
You will need to use the REST Source Sync 'Steps' feature to pass the limit, START_TS, and END_TS parameters. In the example below, I am looking back 1 day. You may need to adjust this based on the number of emails you expect to receive.
Enabling OutboundAccepted and OutboundRelayed logs gives you a reliable way to determine whether an email was delivered, bounced, complained about, or suppressed.
For low-volume use, a REST Data Source plus an Interactive Report is usually sufficient, as long as you stay within the 1,000 records-per-call limit. For higher volume or longer retention, use a REST Source Sync (or PL/SQL paging) to persist results to a table and work around the 14-day query window. Once the data is local, you can join it to your tables and build deliverability views and alerts that meet your requirements.